DIY Vegetable Frittata & NEW Craftsy Class!
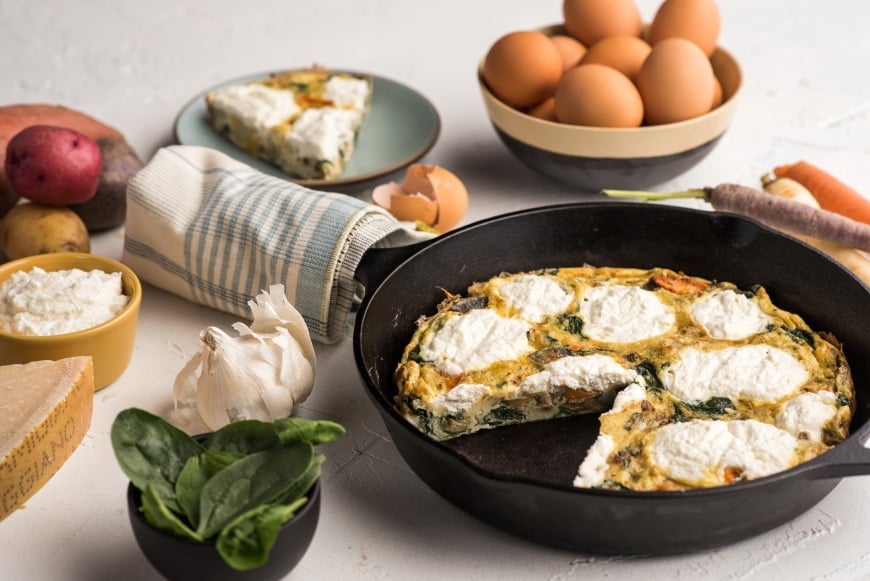
This DIY frittata is quick, easy and loaded with vegetables—it’s the perfect weeknight supper or weekend brunch!
I freaking love vegetables.
While I’m not a vegetarian, there’s no food group that gets me as excited as plants (their colors! their textures! their versatility!). But I wasn’t always this way. When I was a kid, vegetables were the obligatory side dish that I had to choke down with every meal (sprayed with Cheese Whiz, if I was lucky). It wasn’t until I traveled to Europe, Africa and across the US as a young adult—where I discovered a range of new flavors, spices and preparations—that I realized that vegetables didn’t have to be a chore, but rather the best darn thing on the plate.
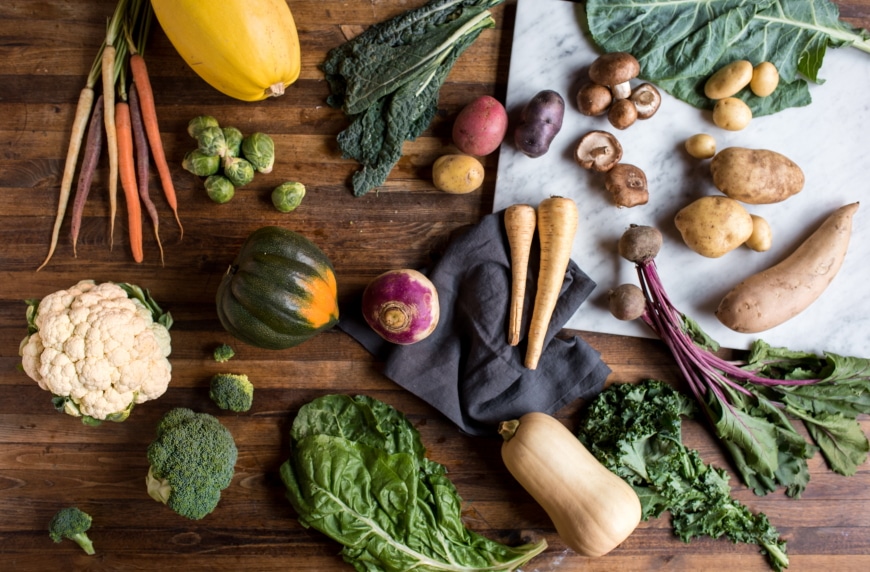
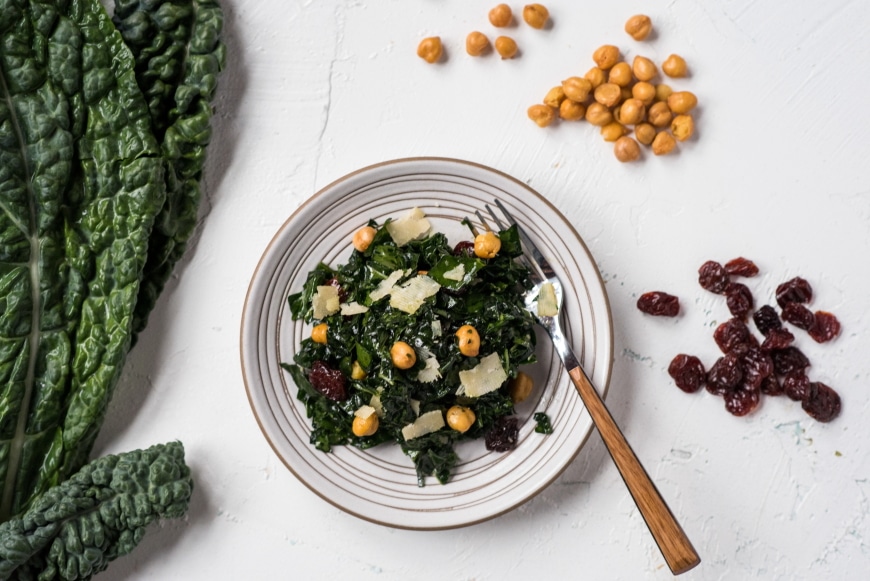
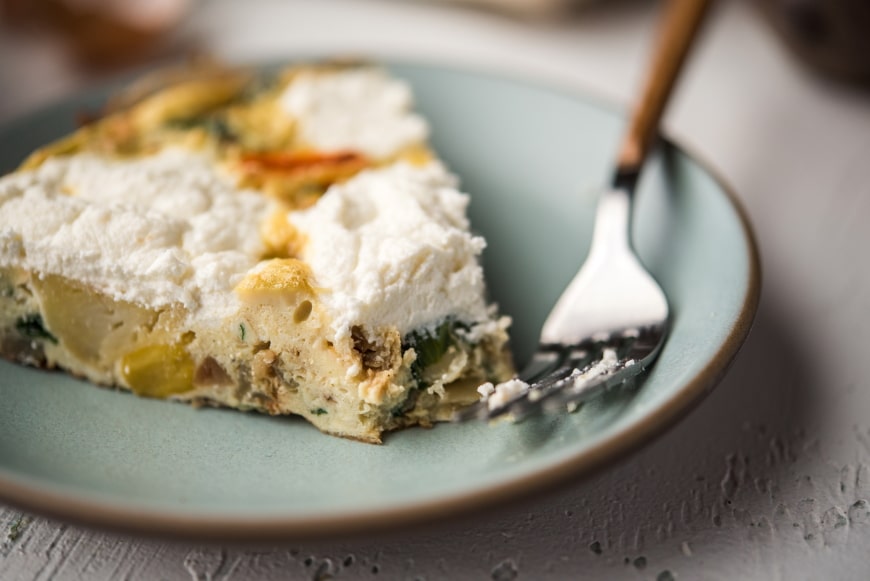
I’m so thrilled to announce that my new class, Vegetables for Every Season has just launched with Craftsy!! In this class, my mission is to share mouthwatering meals, appetizers, soups and salads that just happen to be made with vegetables, like a DIY frittata from the “season-less” bonus lesson. It's my go-to weeknight night supper when I’m looking to use up odds and ends in the fridge, and it’s my favorite post-holiday brunch or lunch when entertaining friends and family. The frittata is light and fluffy, but packed with vegetables (you can use whatever you have or like, depending on what’s in season or in your fridge). Pair it with a leafy green salad (such as the kale salad from the class!) and you’ll have a fine meal indeed. (Get the recipe below!)
Forget the idiom, “eat your vegetables,” I’m here to help you LOVE your vegetables!
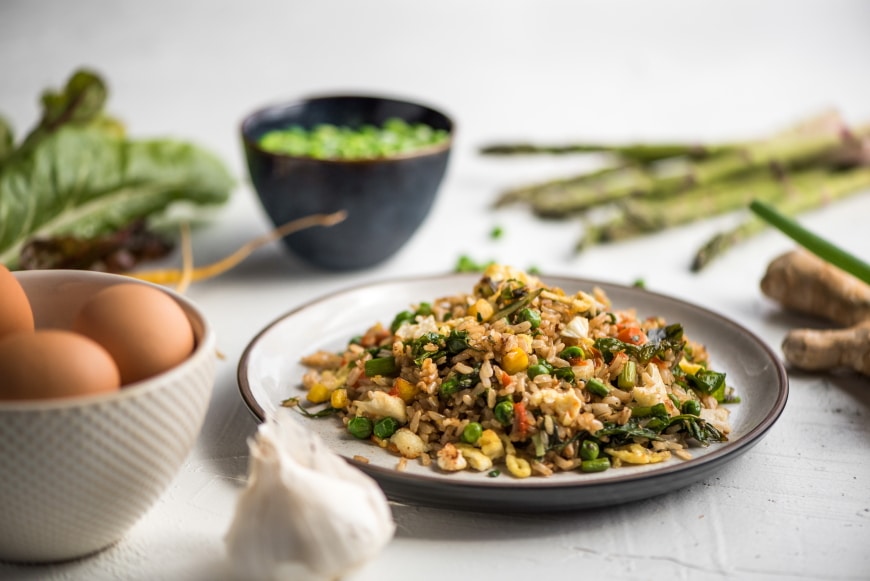
Whether you want some vegetable inspiration for the holidays, or if you want healthy and fresh ideas to kick off the New Year (or if you’re looking for a gift for a friend), you can join my interactive class for half off the full price this week only! From spring all the way to winter, I explore seasonal vegetables that take center stage, from a coconut chard gratin, to spaghetti with asparagus and mint pesto, to a stunning summer squash gratin, to a grilled panzanella salad, to spaghetti squash tacos, to a creamy cauliflower soup, and SO MUCH MORE. If you join the class, you'll have it for a lifetime and can watch it anytime, anywhere, meaning you can cook right along with the class (or, you know, get your vegetable game on while riding the subway or getting a haircut).
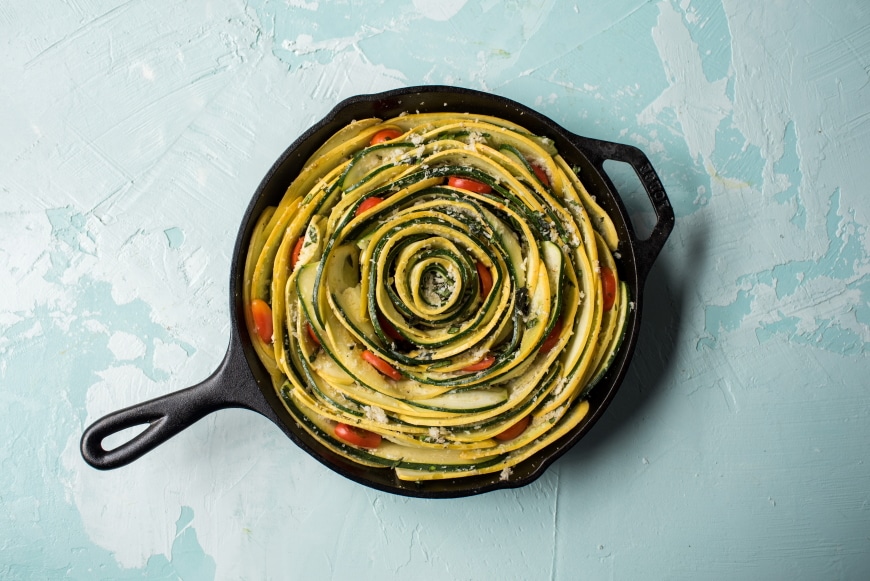
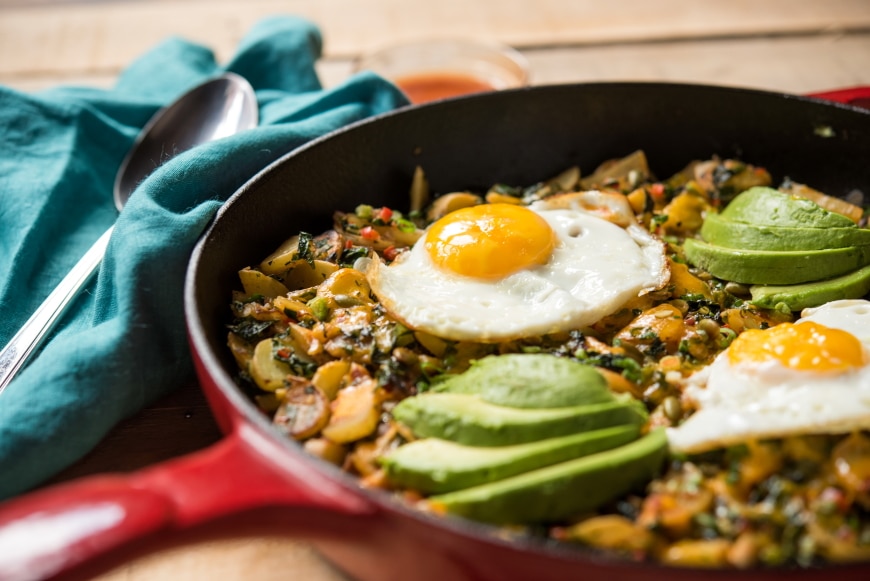
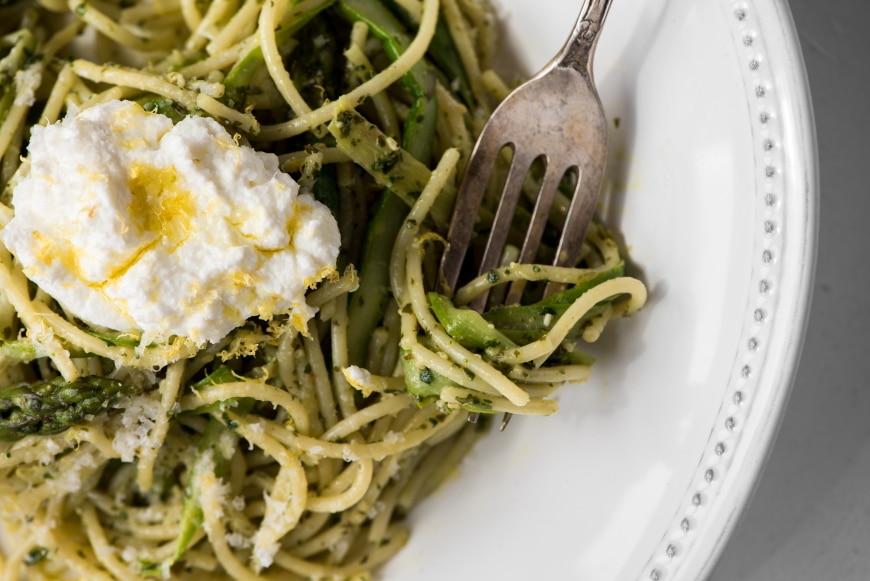
You can grab the frittata recipe below, and check out the trailer for the class here:
I hope you'll come cook with me (click here for the class discount)!!
xx, n
(Also, if you’re looking for a stunning dessert to cap off a holiday meal, I also just launched a FREE holiday baking class with Craftsy!)
Get the recipe!
DIY Vegetable Frittata
Ingredients
- 6 whole eggs
- 2 egg whites
- Salt and freshly ground black pepper, to taste
- Grated Parmesan cheese
- 2 tablespoons olive oil and/or butter
- 1 small onion or leek, diced
- 1 garlic clove, minced
- 2 handfuls chopped fresh leafy greens, such as spinach, kale and/or Swiss chard
- 1-2 cups cooked, diced vegetables (such as potatoes, squash, broccoli, cauliflower, asparagus, peas, peppers, zucchini and/or eggplant)
- Shredded, grated or crumbled cheese (such as Parmesan, cheddar, Gruyère, Comté goat cheese, feta and/or ricotta)
Instructions
- Preheat the oven to 450˚F.
- Whisk the eggs and egg whites with salt, pepper and a handful of grated Parmesan cheese (feel free to add a smattering of chopped herbs, if you have them).
- Heat the olive oil and/or butter in 10-inch cast iron or nonstick skillet over medium heat. Add the onion or leek, and cook, stirring, until tender, about 4-5 minutes. Add the garlic and cook, stirring, until fragrant, about 30 seconds. Pile in the greens, and cook, stirring occasionally, until wilted. Add the cooked vegetables, and season with salt and pepper. Pour in the eggs. Cook, stirring, until the eggs start to set along the bottom and edges. Sprinkle the top of the frittata with the cheese(s) of your choice (the version above was sprinkled with Parmesan and dolloped with fresh ricotta).
- Transfer the frittata to the oven and bake until it’s slightly puffed and just set (a knife inserted in the center should come out clean), about 6-10 minutes. Serve warm or at room temperature.
Stay Connected!
I’d love to hear what you’re cooking, and I’m happy to answer any questions! #FromScratchFast
Instagram: FromScratchFast
Facebook: FromScratchFast
Pinterest: FromScratchFast
YouTube: FromScratchFast
Snapchat: FromScratchFast
*This post contains affiliate links, which means that if you purchase a product through a link you clicked on here, I receive a portion of the sale (at no cost to you). Thank you for supporting FromScratchFast!!
*All photos in this post were taken by the awesome Craftsy team!



5