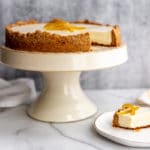
Creamy Lemon Pie with Easy Almond Crust (Gluten-Free!)

I call this creamy lemon pie magic pie. The filling contains just 4 ingredients (only 3, if you count the lemon zest and juice as one!) and has no eggs or gelatin. Yet, it magically sets up into a sliceable pie with a luscious texture that I dream about. You've got to try this. Don't miss the step-by-step video below!
Easy no-bake lemon pie
I was first introduced to this creamy lemon pie by my mother-in-law. She made it for us during a visit several years ago, and it BLEW. MY. SOCKS. OFF. She stirred lemon zest, lemon juice and sweetened condensed milk into fresh whipped cream, then poured the filling into a crust and popped it in the fridge to set. That was it. Say what?
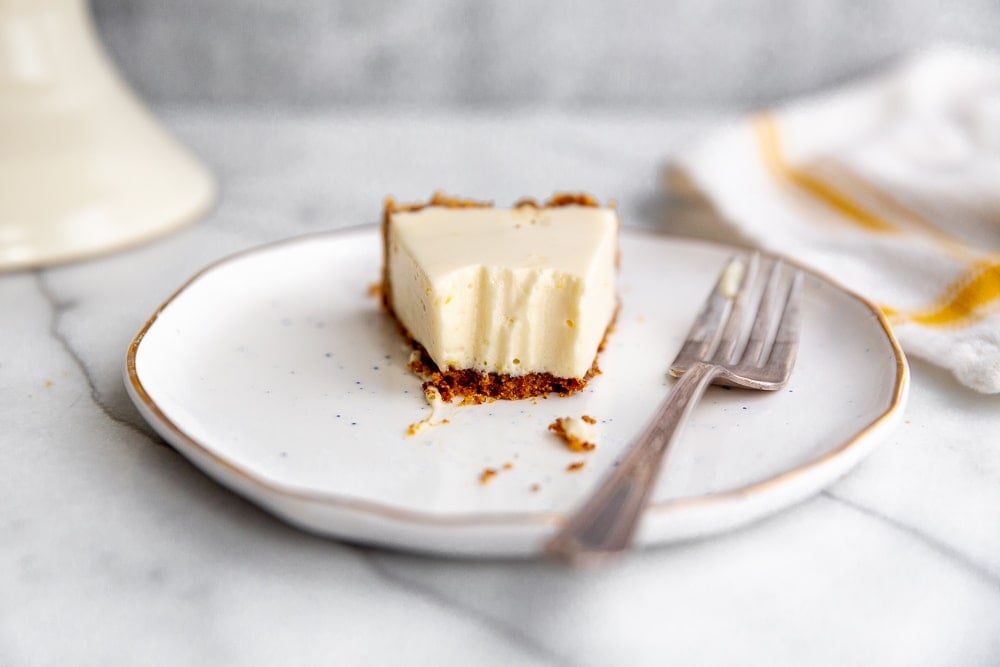
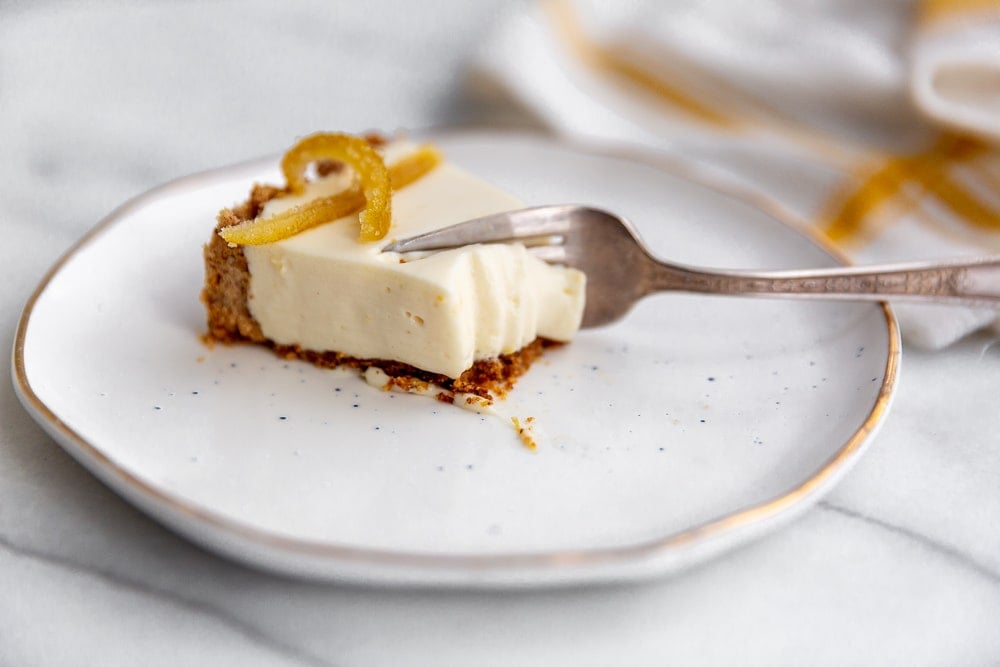
Yep, that's it. That night we ate the pie for dessert, and I breathed one of those "ohhhh heavens" kind of sighs when I took my first bite. The filling is lightly lemon-scented and ultra creamy. Since there are no binders, the texture is pure silk.
How do you make lemon pie with condensed milk?
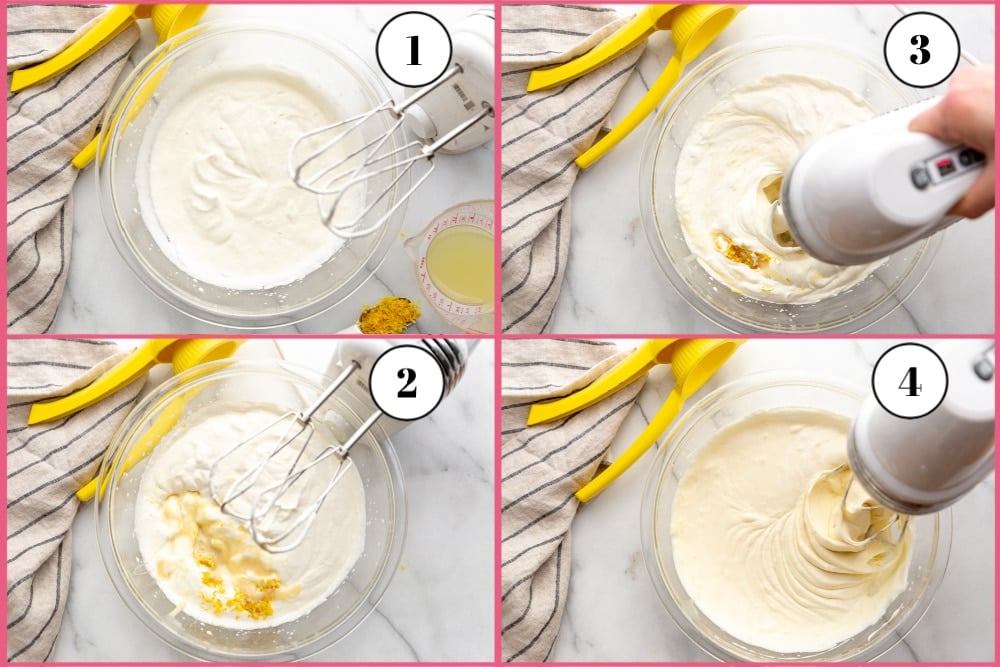
- Using hand beaters, beat heavy cream to medium peaks.
- Add lemon zest and lemon juice.
- Pour in sweetened condensed milk.
- Blend until smooth. That's it!
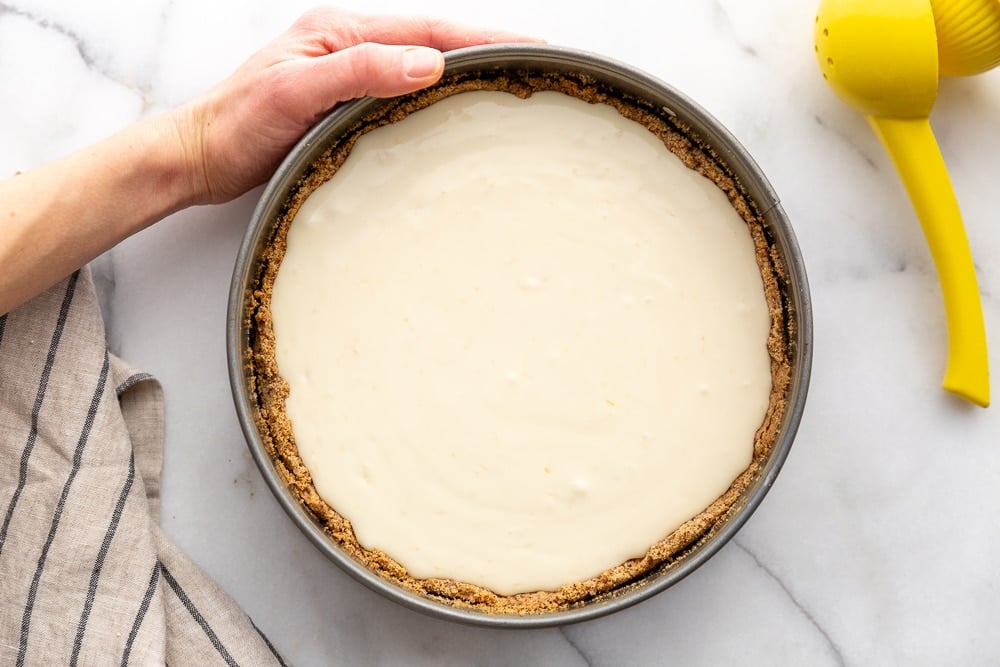
Pour the filling into a cooled almond crust and refrigerate for at least 6 hours or overnight to set.
How to make an easy almond crust:
This almond crust is a cinch to make using almond flour, sugar, cornstarch and salt. The almond flavor is the perfect complement to the lemon filling, but you can use a graham cracker crust instead if you prefer.
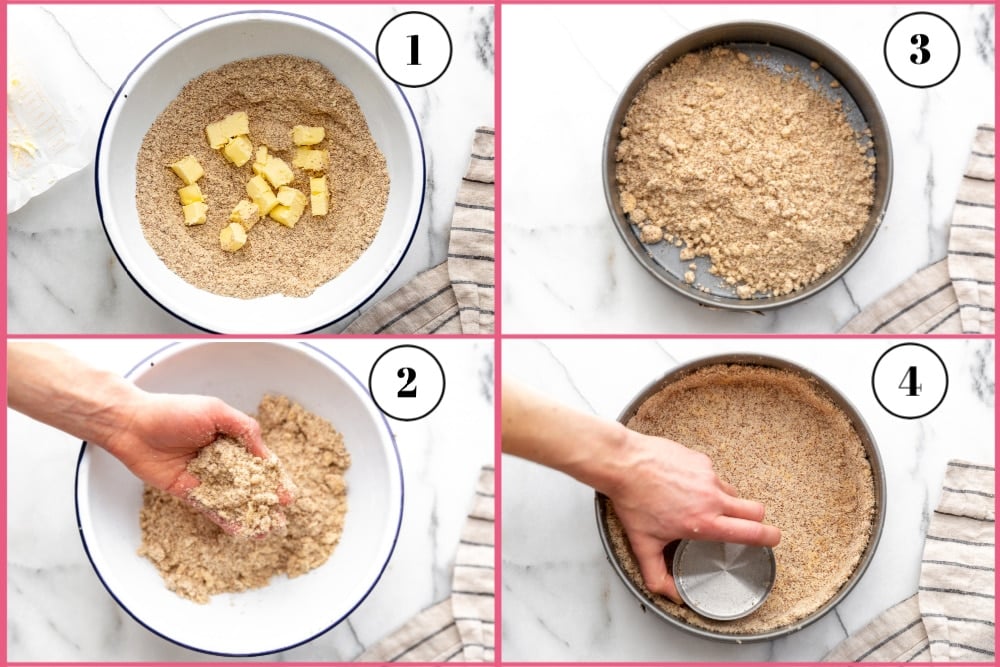
- Whisk together almond flour, sugar, cornstarch and salt. Scatter cold butter over top.
- Using your fingers or a pastry cutter, work the butter into the flour until it's mostly incorporated (the mixture should look sandy with small bits of butter).
- Pour the mixture into a 9-inch springform pan.
- Press the crust all over the bottom and up the sides of the pan. Bake the crust in a 350 degrees F (175 degrees C) until it's golden around the edges. Let it cool completely before adding the filling.
Candied lemon peel
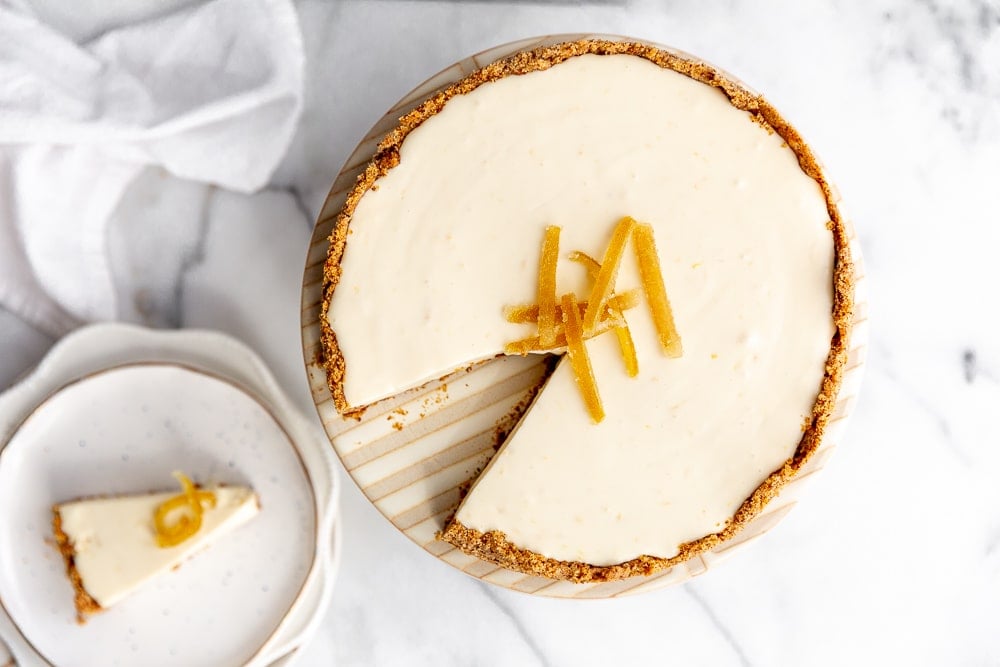
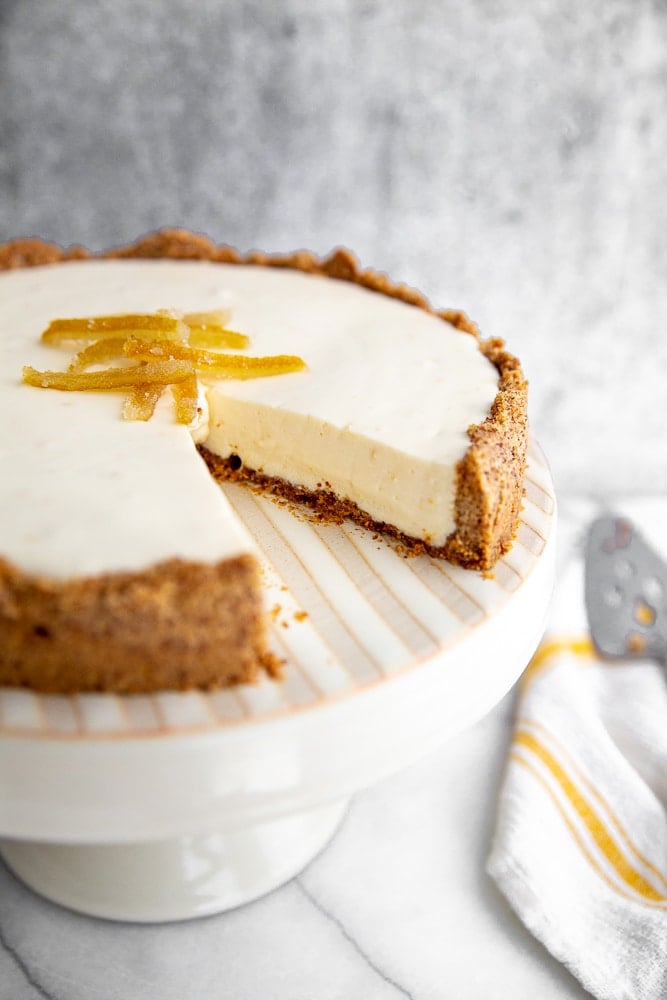
You can serve the pie just as it is, but I love gussying it up with candied lemon peel. You can use store-bought or make your own! It's easy to make, and I've included a recipe below. FYI, you can use this same method with any citrus peel (try dipping the candied peels in chocolate-it's one of my favorite treats and is a fabulous hostess gift!).
Tips for making creamy lemon pie
- You'll need a 9-inch springform pan for this pie. If you don't have one, you can use a 9-inch pie plate (you won't need to use all of the almond crust or filling).
- Almond flour gives the crust a lovely nutty flavor that complements the lemon filling (you can use a graham cracker crust instead, if you prefer). You will need to work the butter into the crust by using your fingers or a pastry cutter until it is evenly incorporated-the mixture should look sandy with little bits of butter. It will seem quite dry, but it will come together in the pan. Take your time pressing it into the bottom and up the sides of the pan to get an even crust (a measuring cup works well for getting the crust into the edges of the pan).
- Whip the heavy cream to medium stiff peaks. The cream should hold a point but should look billowy, not grainy.
- Sweetened condensed milk is made from boiling milk with sugar until it's thick and syrupy. I use this organic brand, but any 14-ounce can will do. Since the milk is already sweetened, there's no need to add any additional sugar to the pie!
- You'll need a microplane for zesting the lemons. Use two large lemons, preferably organic. Also, be sure to measure out the lemon juice, as if you add too much juice the pie might not set up (FYI - this lemon squeezer is one of my favorite kitchen tools, and it will save your hands!).
- You can use the method for making candied lemon peel with any citrus fruits, such as oranges and grapefruits. You'll need to slice off just the outer rind-if you get any of the juicy fruit shave it off with a knife.
- For another easy lemon dessert, try these lemon pudding cakes!
FAQs
This creamy lemon pie filling is made with just lemon zest, lemon juice, heavy cream and sweetened condensed milk.
The pie can be refrigerated for up to 3 days.
The acidity in lemon juice naturally thickens condensed milk (no heat needed), making it perfect for creamy pies without gelatin.
*This post contains Amazon and other affiliate links to products I use and love (from which I earn income, at no cost to you). Thank you for supporting From Scratch Fast!
Watch the video!
Other desserts you might like:
- Easy Lemon Olive Oil Polenta Cake
- Healthy Carrot Cake
- Strawberry Galette
- Crepe Cake with Cocoa Whipped Cream
- Vegan Chocolate Pudding Tart
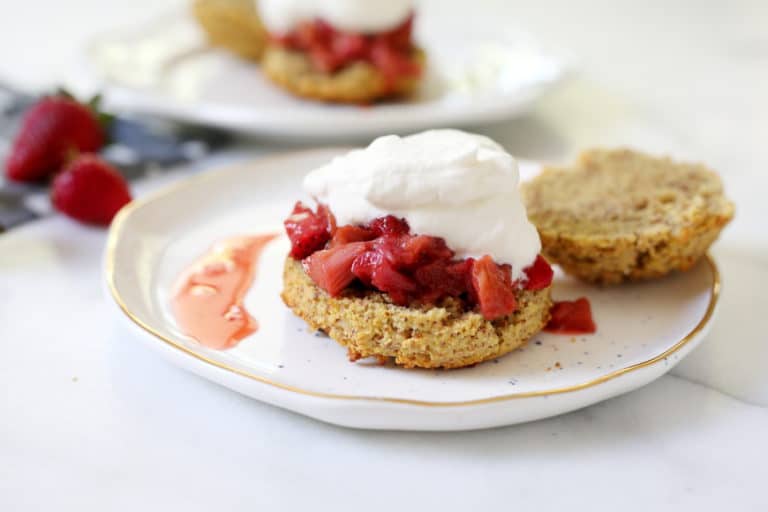
- Paleo Strawberry Shortcakes
Main courses to try:
- Weeknight Lemon Garlic Roast Chicken
- Easy Lamb Ragu
- Mediterranean Quinoa Bowls
- Sheet Pan Chicken & Veggies
- Shrimp Tacos with Cilantro Pesto
Stay connected

Subscribe
Get exclusive new weekly recipes (all gluten-free, but you'd never know it), along with tips for finding more intention, ease, and joy in the kitchen in my Mind, Body, Spirit, FOOD newsletter!
Get the recipe!
Creamy Lemon Pie with Easy Almond Crust (Gluten-Free!)
Ingredients
Easy Almond Crust
- Cooking spray or oil, for pan
- 1 ½ cups (165 g) lightly packed almond flour
- ¼ cup (50 g) sugar
- 2 tablespoons (18 g) cornstarch
- ⅛ teaspoon fine sea salt
- 5 tablespoons cold unsalted butter, diced
Filling
- 1 cup heavy cream
- Zest from 2 large lemons
- ¼ cup fresh lemon juice
- 1 14- ounce can sweetened condensed milk
- Candied Lemon Peel, for garnish (optional, see recipe below)
Instructions
- Preheat the oven to 350 degrees F (175 degrees C). Lightly grease a 9-inch springform pan with cooking spray or oil.
Make the crust
- In a bowl, whisk together the almond flour, sugar, cornstarch and salt. Scatter in the butter. Using your fingers or a pastry cutter, rub the butter into the flour mixture until the butter is mostly incorporated-the mixture should look sandy and there should still be some small bits of butter. The dough will still seem too dry, but trust me here! Pour the crust into the prepared springform pan and press it evenly over the bottom and up the sides of the pan (using the flat side of a measuring cup helps to get it into the edges). The crust should go about 1 ¼- to 1 ½-inches up the sides. Bake until golden around the edges, about 15-18 minutes. Let cool completely (you can put it in the refrigerator to cool quickly, if desired).
Make the filling and chill
- Using hand beaters, beat the heavy cream to medium peaks (the cream should hold a point but still look billowy). Add the lemon zest, lemon juice and sweetened condensed milk. Blend on low until fully incorporated. Pour the mixture into the cooled crust (don't go over the top of the crust-you might not need all of the filling). Cover and refrigerate for at least 6 hours, preferably overnight.
- To remove the pie from the springform mold, run a small offset spatula or thin knife along the edges, then un-mold. Run a large off-set spatula under the pie to transfer it to a cake stand or platter (or serve it directly on the springform base!). Garnish with candied lemon peel, if you'd like. Serve cold (swoon)!
Notes
- You'll need a 9-inch springform pan for this pie. If you don't have one, you can use a 9-inch pie plate (you won't need to use all of the almond crust or filling).
- Take your time pressing the crust mixture into the bottom and up the sides of the pan to get an even crust (a measuring cup works well for getting the crust into the edges of the pan). If you prefer, you could go for a graham cracker crust instead.
- Whip the heavy cream to medium stiff peaks. The cream should hold a point but should look billowy, not grainy.
- You'll need a microplane for zesting the lemons. Use two large lemons, preferably organic. Also, be sure to measure out the lemon juice, as if you add too much juice the pie might not set up.
- For another easy lemon dessert, try these lemon pudding cakes!

Candied Lemon Peel Recipe
Ingredients
- 2 medium lemons, preferably organic
- 1 ½ cups sugar, divided
- 1 cup water
Instructions
- Trim a small slice off the top and the bottom of each lemon. Standing a lemon on a flat side, cut off the peel and the pith by running your knife from top to bottom, removing the skin (try not to cut into the fruit, but if you do, lay the peel flat and shave off the juicy fruit). Cut the peel into ¼-inch strips. Repeat with the second lemon.
- Place the lemon strips in a small pot and cover with cold water. Bring to a boil, then drain. Repeat the process two more times (this helps removes the bitterness from the peel).
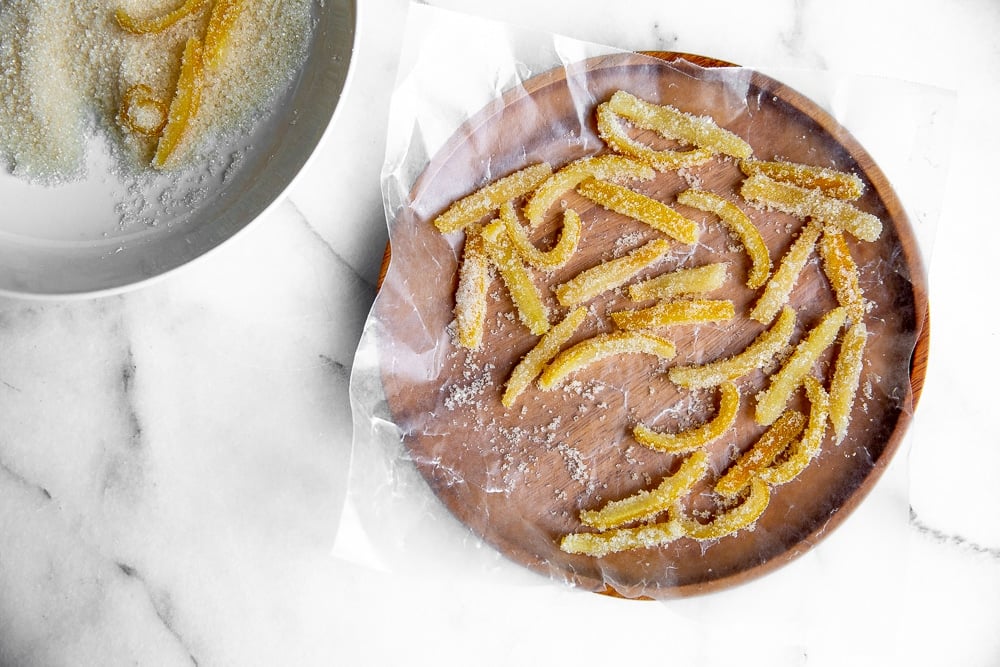
- In the same pot (now drained), combine 1 cup of the sugar with the water. Bring to a boil, stirring to dissolve the sugar. Add the lemon strips, and return to a boil. Reduce the heat to a simmer and cook until the peels are soft and slightly translucent, about 22 to 25 minutes. In the meantime, pour the remaining ½ cup of sugar into a shallow bowl.
- Drain the lemon peels, give them a quick rinse, then drain again. Transfer the peels to paper towels just for a second (to get rid of excess moisture), then plop them into the bowl with the sugar. Using your fingers, gently toss the peels in the sugar to coat. Arrange the candied peels on a piece of wax or parchment paper, and let sit until dry, about 4 to 5 hours.
Notes
- You can use this same method to make other candied citrus peels, such as orange rinds or grapefruit rinds.
- You'll need to slice off just the outer rind of the fruit-if you get any of the juicy bits shave them off with a knife.


This was great! I made it for Easter tea and the whole family loved it. It was also super easy and I made it two days in advance and it still held up great. I was too lazy to make the candied lemon peel so I garnished with more lemon zest and it was beautiful, wish I could add a picture! Will absolutely make this again... And again and again 😂.
Hi Sarah, I’m thrilled to hear you loved the pie! Thank you so much for sharing. ❤️
do you have to use lemon zest?
Hi there! I do recommend using the lemon zest, as it's really important for the flavor of the pie. I hope you enjoy!
Can this be refrigerated for 2 nights? My party is over the weekend and I would like to make this one earlier
Hi Suzy! Yes, that will be just fine. It holds up well. I hope you enjoy!
Dear Nicki,
I made it for my husband's birthday. He absolutely loved it!
We called it delightfull dessert instead of suggested name lemon pie.
Thank you <3
Nataliia & Gerhard
Hi Nataliia, I'm so glad you and your husband enjoyed (and I love your new name for the pie 😉)!
Hi NIcki,
Do you think I could use sweetened condensed coconut milk for dairy free?
Hi Kelly, yes I do think it will work, although I haven't tested it yet. I suggest letting the pie chill overnight, which will give it extra time to set. Keep me posted!
I used 1 1/2 cups of almond flour and 5 Tablespoons of unsalted butter, as the recipe says. My crust was real moist not dry at all. What did I do wrong? It was good though.
Hi Mina, I'm happy the crust tasted good even though the texture was off! I'm assuming you added the cornstarch? The issue could have been because of the way the almond flour was measured (there can be a pretty wide difference in weight depending on how the flour is packed - if you packed it loosely the crust would have been more moist). If your kitchen was humid that could also have contributed to the moister texture. I hope this helps!
Thank you. I did add cornstarch. I’ll do some experimenting next time I make it. I’ve been asked for the recipe by a college graduate on her way to her first job. No doubt she’ll make it through her life.
Hi Nicki! I made this for Easter for my family and we loved it!!! So good, so easy and delicious!
I use this crust and put it in a pie dish, and then I make a avocado chocolate mousse and put that in the crust and THEN, I make a coconut whipped cream and put that on top. I make it for one of my friends mom, (she is vegan) and she LOVES it.
I love it too! Just wanted to let you know that this crust is amazing for a lot of things! 🙂
Raine.
RAINE! You are simply brilliant - that chocolate mousse pie sounds AMAZING. I'm going to have to try that! Thank you!
5
I'm wondering if I can substitute arrowroot for the corn starch, as I can't have corn starch. Also, do you think you could add some small pieces of candied ginger to the filling?
Hi Alisa, yes, you can swap in arrowroot powder for the corn starch in the crust! Candied ginger sounds delicious, although I fear it would sink to the bottom of the pie, as the filling is so creamy. I'd suggest garnishing with the candied ginger instead, or even adding a bit of it to the crust (as long as it was chopped very finely). Let me know how it turns out!
Thank you! This was a big hit with dinner guests! Really delicious and so simple. I added very finely chopped candied ginger to the crust which worked great. It was a little sweet for me so next time I think I’ll try a bit more cream or I’ll put some whipped cream on top.
I'm so happy to hear this! I can't wait to try the candied ginger in the crust. 🙂
3
This was delicious and so easy! I made this for my husband’s birthday and he loved it. I used gluten free vanilla wafers instead of the almond flour because he has an allergy and they worked great! So delicious and so easy! I would definitely make this again.
Hi Lindsay, I'm so thrilled you liked the pie! That was such a good idea to use vanilla wafers instead of the almond flour!!
Hi Lindsay,
Thank you for your comment. It's a while since you made the pie.
May I ask if you baked the vanilla wafers or just shaped it and precooled in the frindge?
I will appreciate your answer very much.
Thank you <3
5