Today I’m sharing “purposely imperfect” blueberry hand pies. They’re filled with a cinnamon and cardamom-spiced blueberry filling and a secret pocket of almond paste. Best of all, they’re far less fussy to make than most hand-pie recipes and are not meant to be perfect.
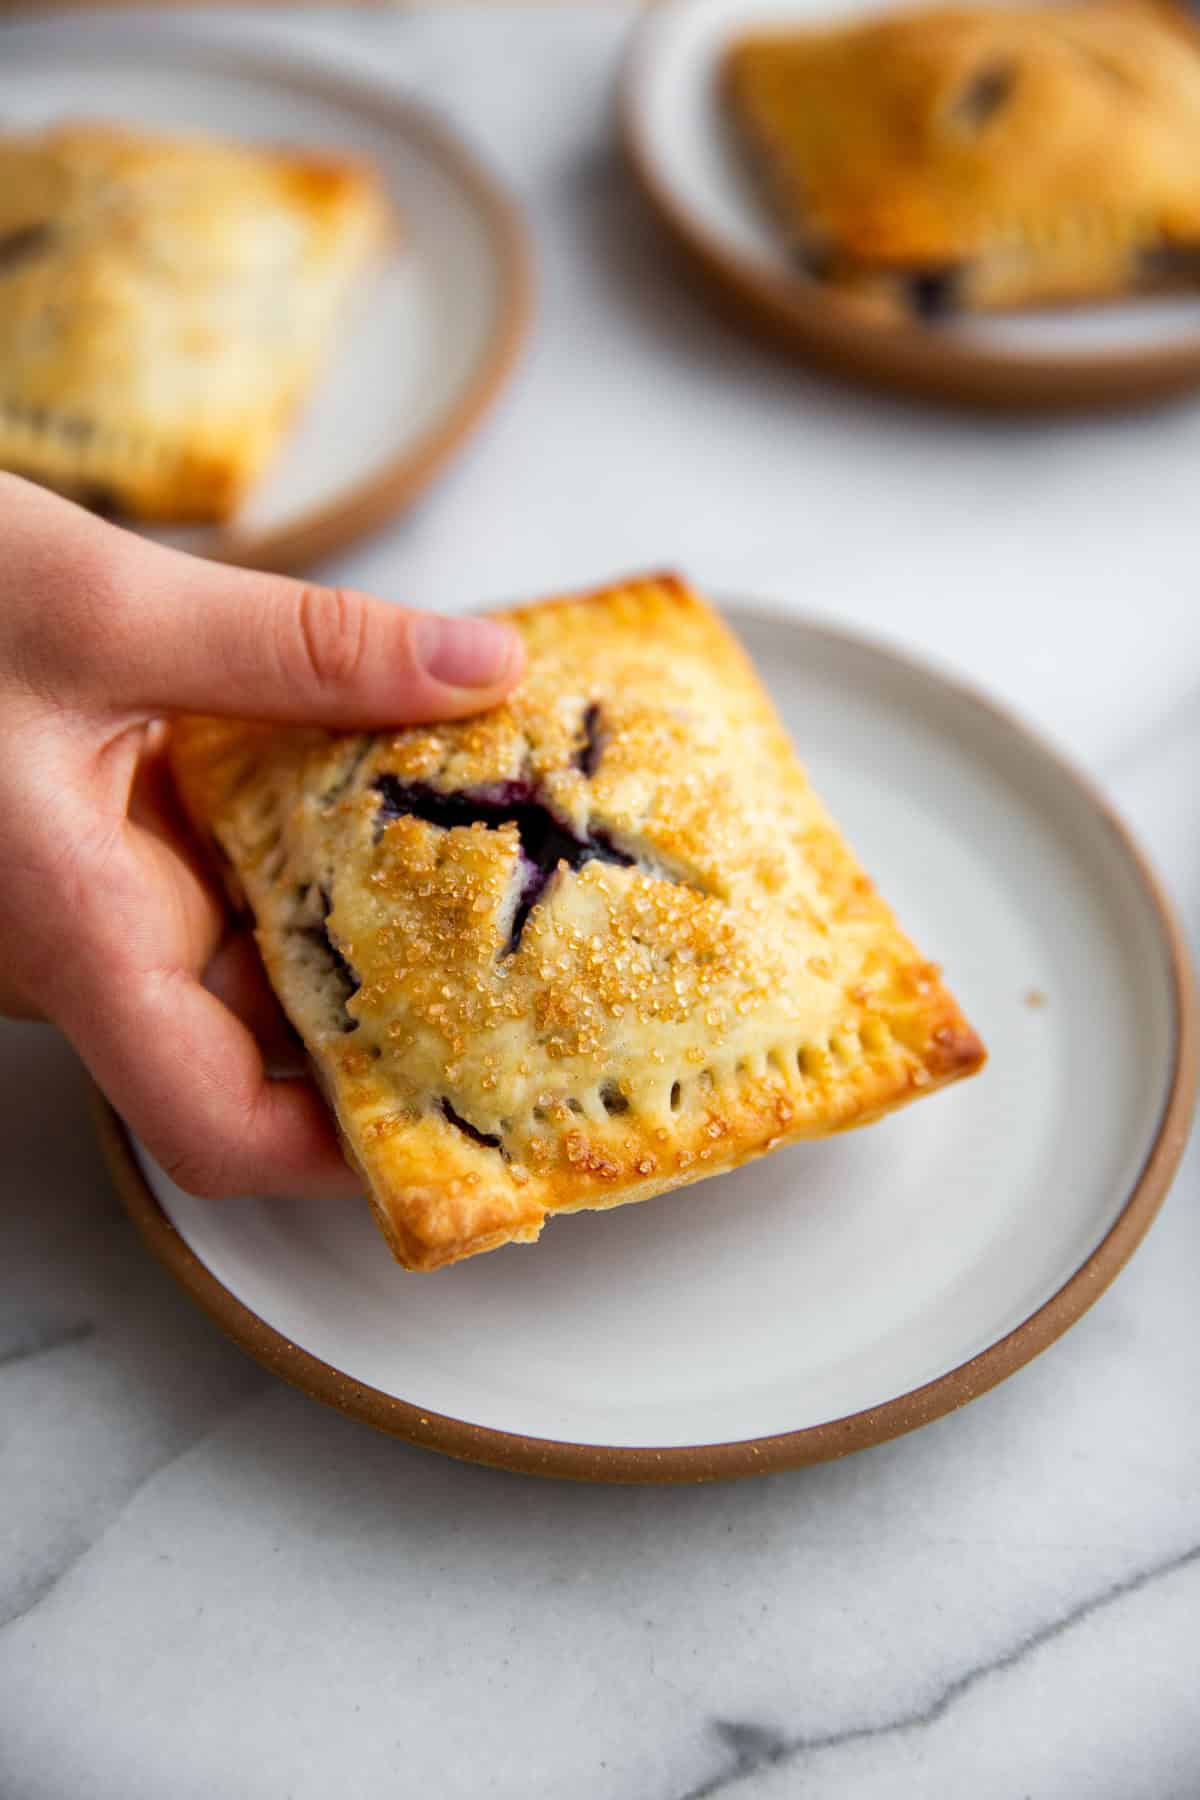
Table of Contents
Why You’ll Love This Recipe
This sweet blueberry hand pie recipe is a classic summer recipe that would be perfect for 4th of July and other summer celebrations. They’re a bit of a project, but as I mentioned in this newsletter, baking with tons of precision is not my place of joy. I prefer more rustic bakes, and while pie is my favorite thing to make, hand pies require quite a bit of futzing. Therefore, I simplified the recipe wherever possible, and I embraced the imperfections. Let’s leave any notions of perfectionism at the door and instead have fun with the process.
Instead of using molds or even measurements to precisely cut the dough, I wing it with a pizza cutter. The pies are formed right on the baking sheet, and I skip the step of brushing the inside of the dough with egg wash before pressing on the top crust because it takes too long and I’m rather impatient (the dough holds together fine). When forming the hand pies, some of the filling may poke through or the dough might tear. Just patch it back together as needed (it will only add to their charm).
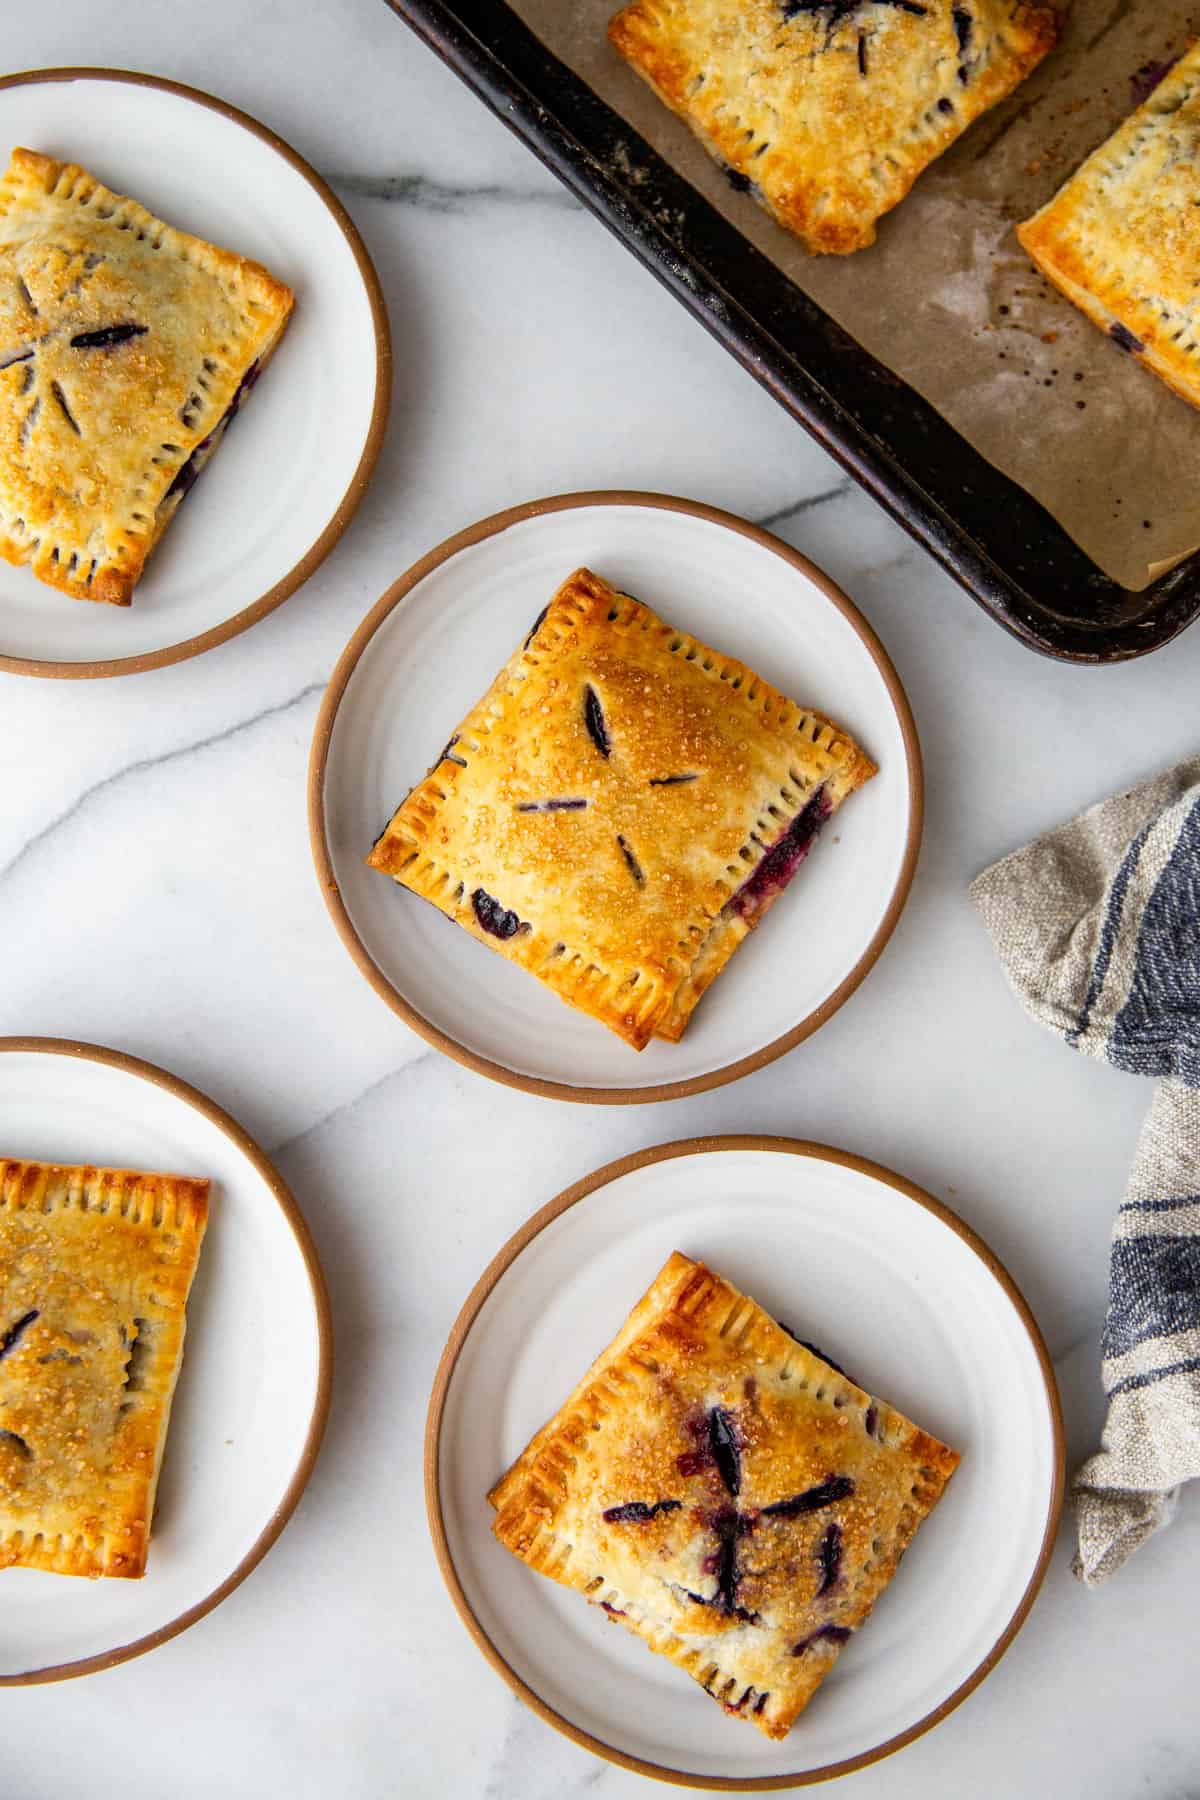
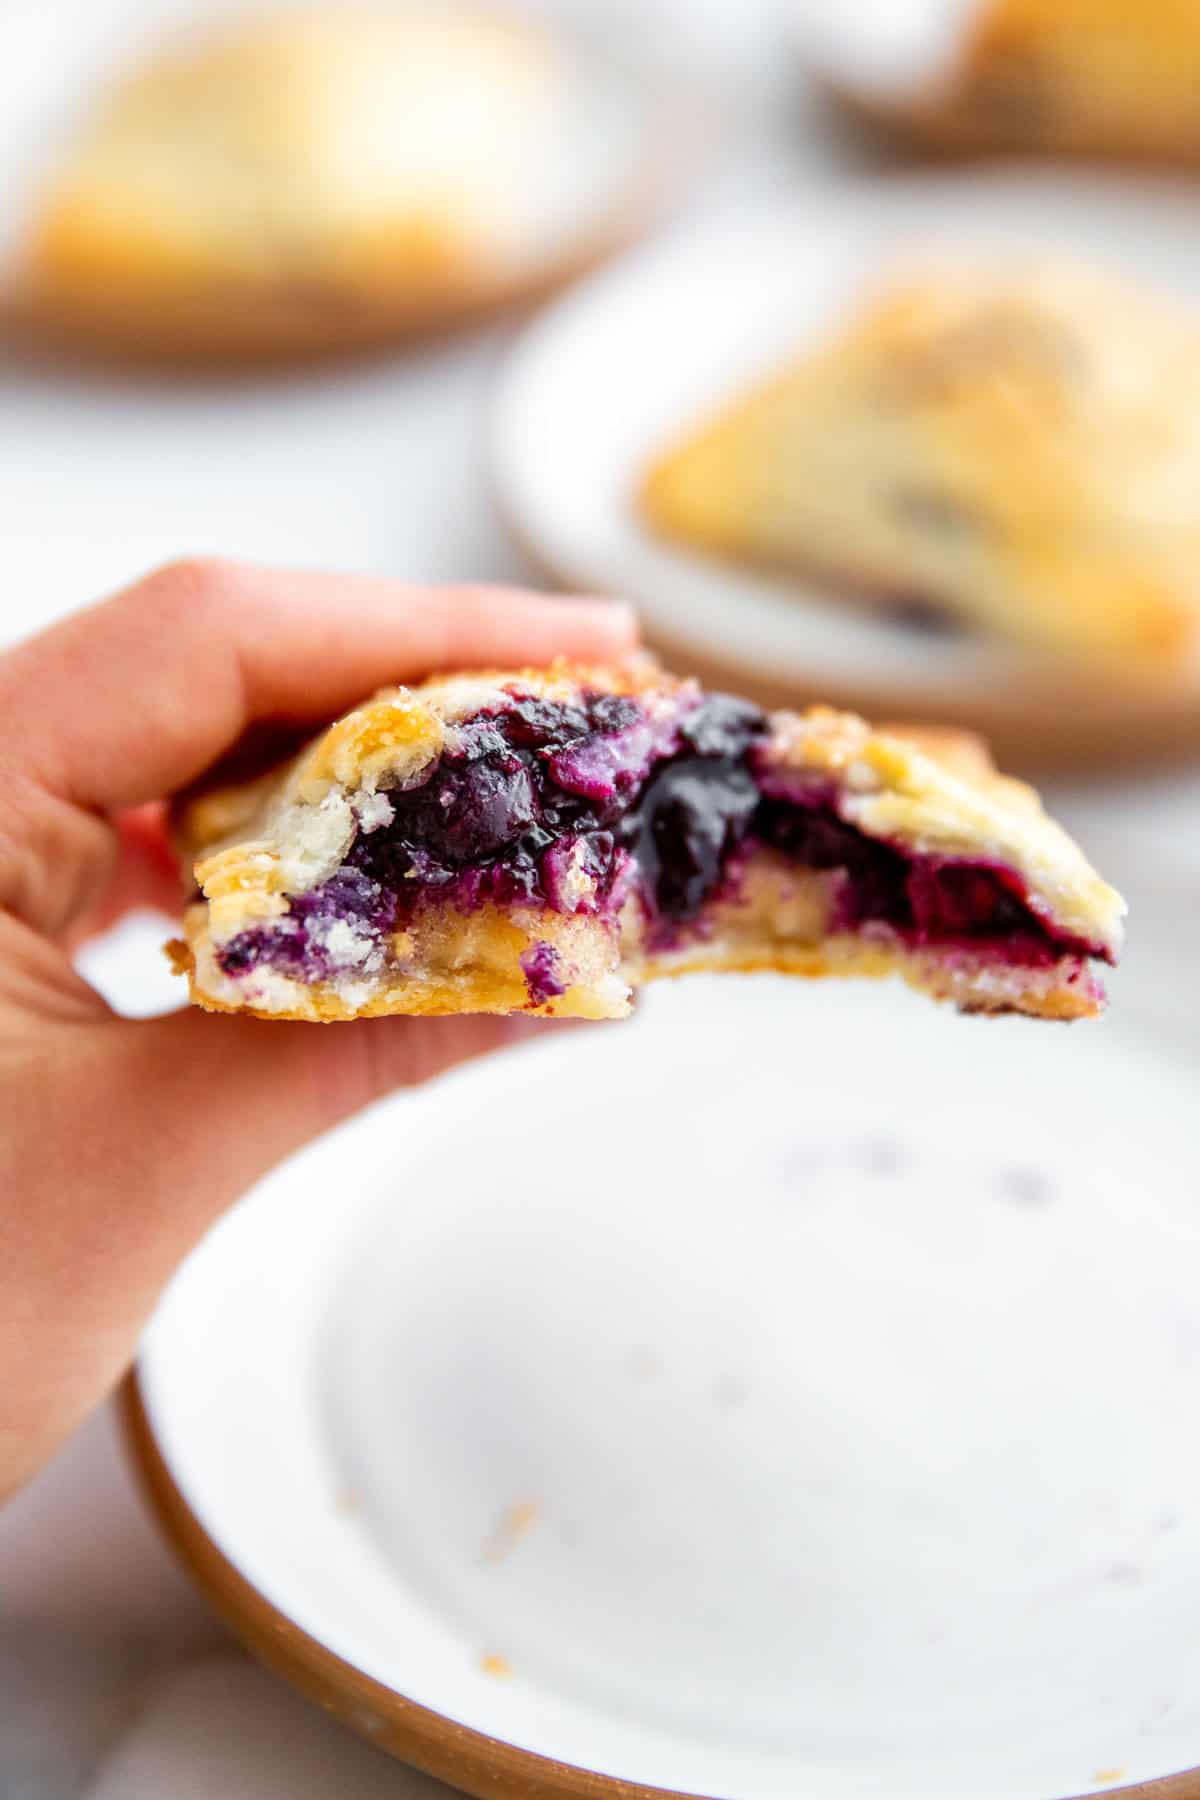
The end result yields delicious homemade hand pies with a juicy blueberry filling wrapped in a flaky, buttery crust, and topped with coarse sugar. All the yummy taste of a traditional blueberry pie made mini!
Ingredient Notes
See the printable recipe card below for ingredient amounts, instructions, and recipe tips.
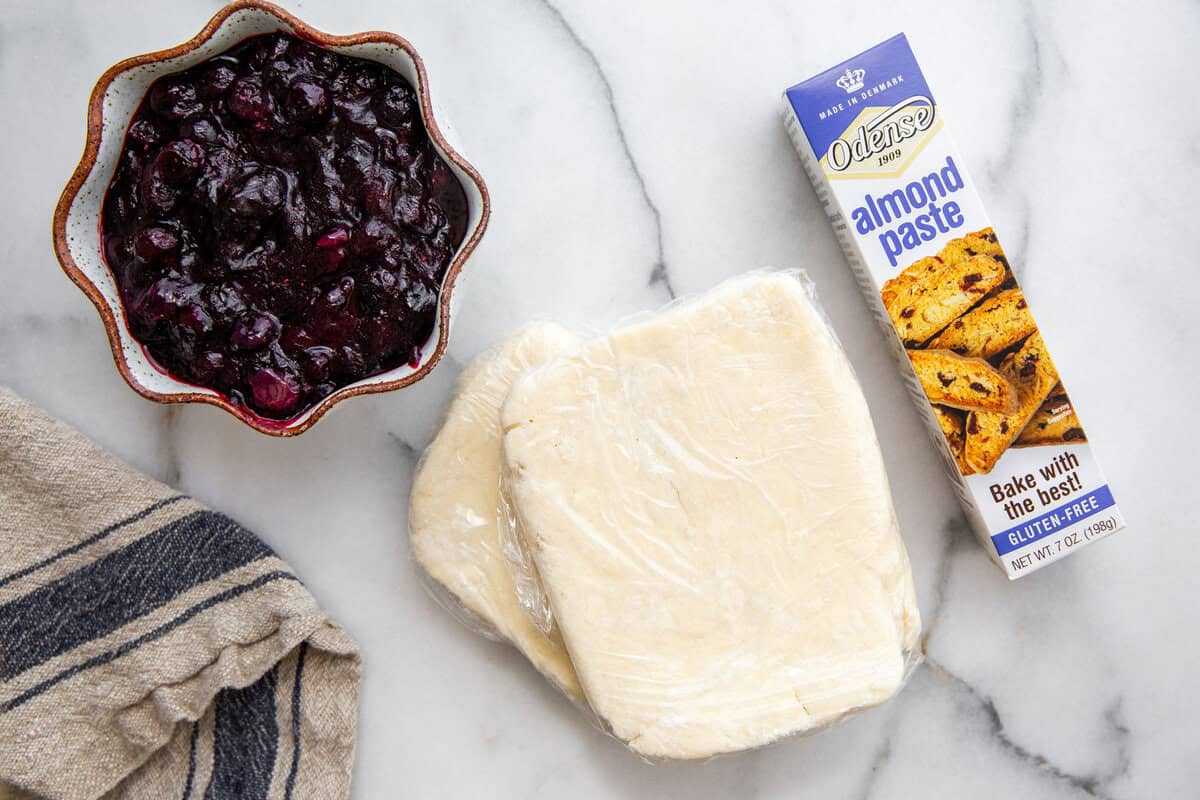
Pie dough
- Gluten Free Pie Dough (or 2 disks of any pie dough): My flaky pie crust dough uses 6 simple ingredients: gluten-free (or regular) flour, fine sea salt, unsalted butter, sugar, apple cider vinegar, and cold water. Click on the link to grab the printable recipe. Use regular all-purpose flour if not gluten-free.
Blueberry Pie Filling
- fresh blueberries: If it’s not blueberry season, feel free to use frozen blueberries. However, this might make the mixture a little watery. Use additional cornstarch if needed.
- organic cane sugar (or regular granulated sugar)
- cornstarch
- cinnamon
- ground cardamom
- fine sea salt
- fresh lemon juice
- water
Assembly
- almond paste or marzipan (such as Odense brand—you’ll need about a third of a log), cut into 9 thin rounds (see the Tips)
- milk or cream
- turbinado or demerara sugar
Step-by-Step Instructions
Make and chill the pie dough
Make the pie dough (recipe link above), forming the dough into 2 rough squares or rectangles instead of disks (this will make it easier to roll out the dough later, but don’t worry if you already have disks). Chill the dough as directed for at least 30 minutes. Do Ahead: The dough can be refrigerated for up to 2 days or frozen for up to 3 months.
Make the blueberry filling
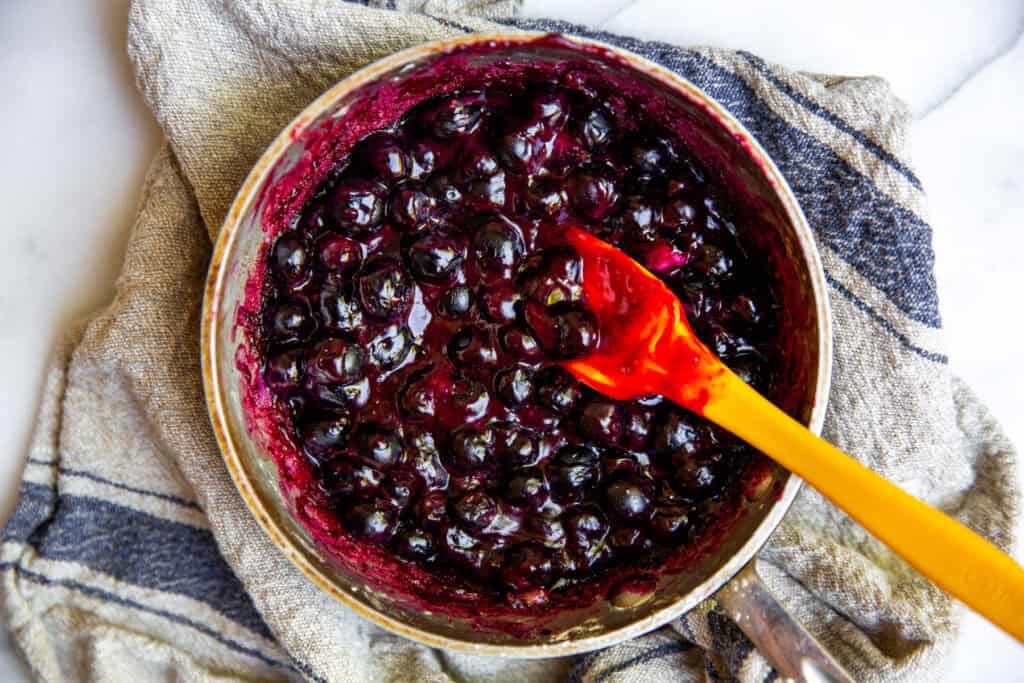
In a small saucepan, toss together the blueberries, sugar, cornstarch, cinnamon, cardamom, and salt. Drizzle in the lemon juice and water. Stir until the cornstarch is dissolved. Place the pan over medium-high heat and cook until the liquid at the bottom starts to bubble. Continue cooking, stirring often with a rubber spatula, until the mixture is quite thick, 3-5 minutes longer (it will be gloppy, but that’s okay). Transfer the filling to a small bowl and let cool. Do Ahead: The blueberry filling can be transferred to an airtight container and refrigerated for up to 2 days before use.
Assemble the pies and bake
Preheat the oven to 425 degrees F (220˚C).
If the pie dough has been refrigerated overnight, let it sit at room temperature until pliable (this could take up to 30 minutes, depending on the temperature of your kitchen). Roll out one of the pieces of dough on a lightly floured surface (works best on a piece of parchment paper into a 10- to 11-inch square). Using a straight edge (such as a ruler) and a pizza cutter (or knife), trim the edges so that they’re straight (save the scraps!). Cut the dough into 9 even squares (I just wing it, but you could measure the squares if precision is your jam).
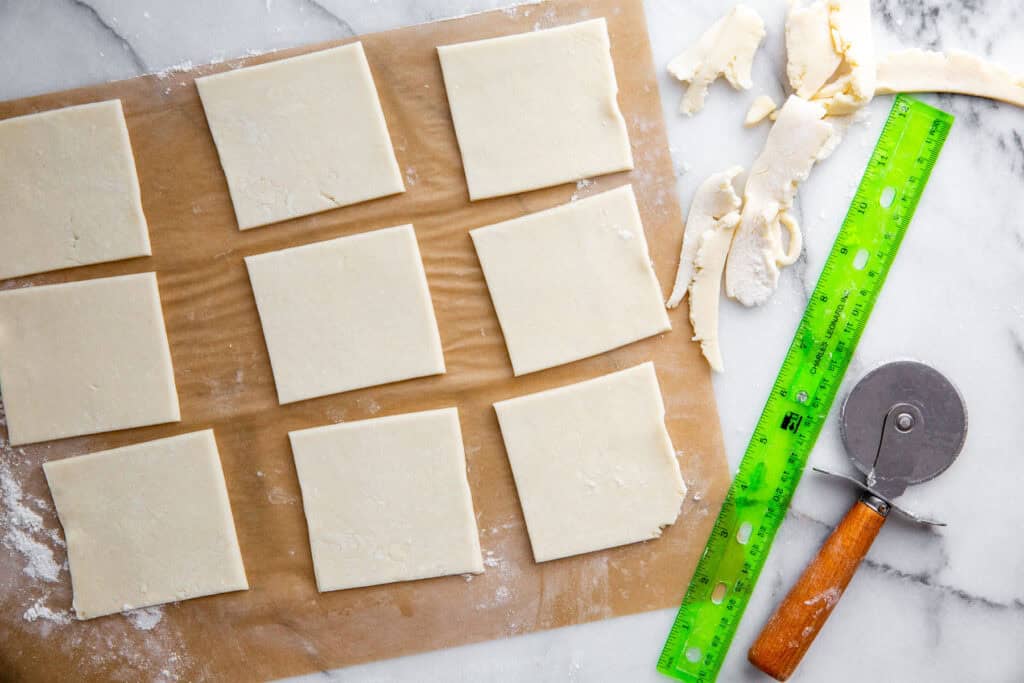
Slide the parchment (with the dough squares) onto a baking sheet and refrigerate. Repeat with the next piece of dough.
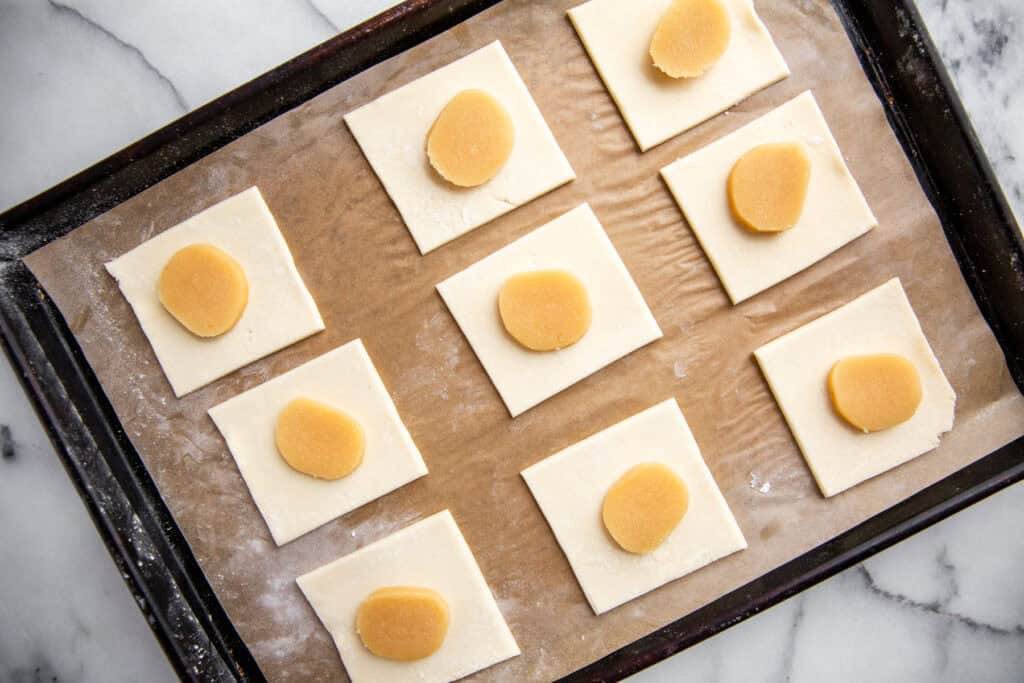
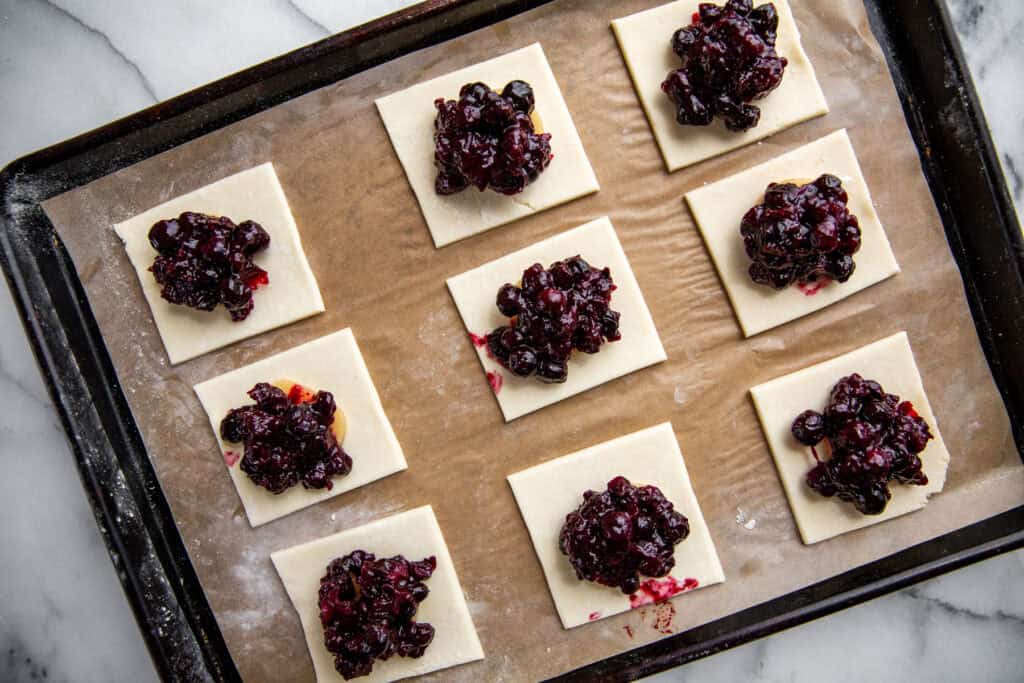
Remove the first baking sheet from the fridge—you’ll be baking the pies right on this baking sheet. Place a piece of almond paste in the center of each square of dough. Scoop a scant tablespoon of the blueberry filling over the almond paste—you will have leftover filling (you can use the leftover filling to make a rustic little crostata with the dough scraps, or you can stir it into yogurt or ice cream).
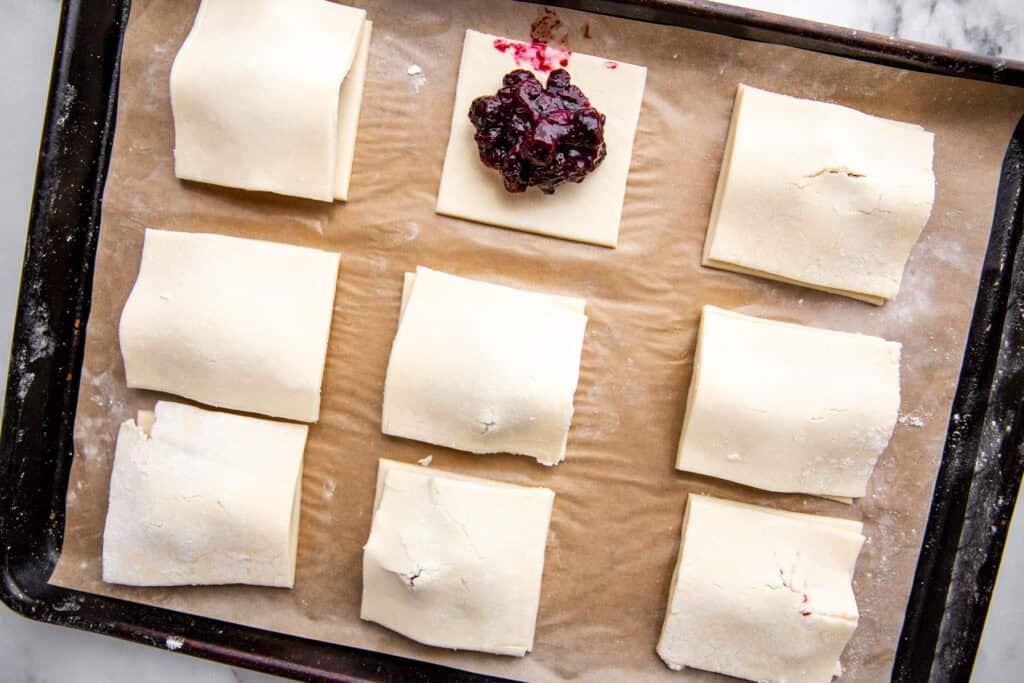
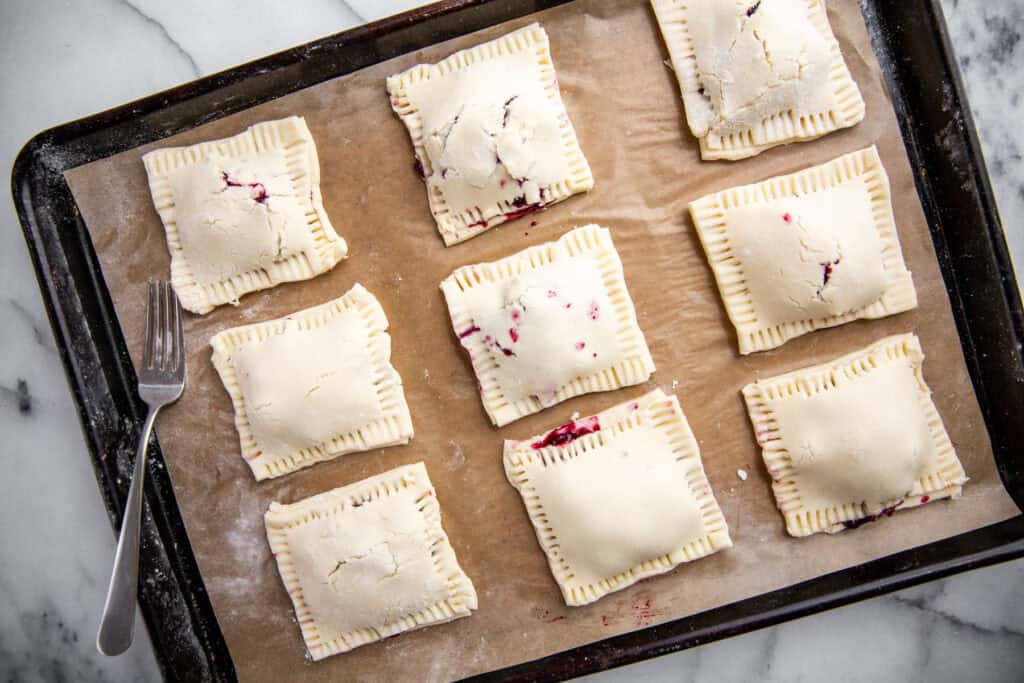
Remove the second baking sheet from the fridge, and top each pie with a square of dough. Press along the edges of the dough with the tines of a fork seal (if your pan is small and this is cumbersome, move the pies to a work surface with a spatula to seal). If the dough tears or cracks, just patch it back together the best you can.
Quick Tip: At this point, you might be thinking, “These look like hell,” as some of the filling will poke through and the dough won’t be perfect—it’s okay! The pies look quite lovely when baked, even if they look bedraggled before going into the oven. It’s all about embracing the process (and that pie is supposed to be fun).
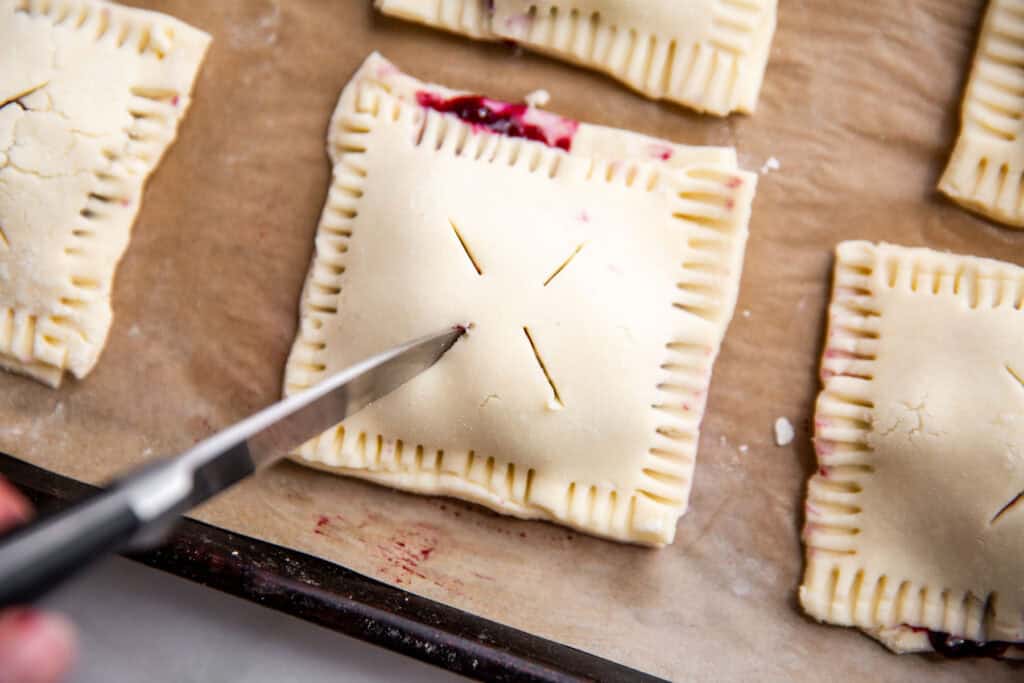
Cut a small vent into the top of each pie (I usually do 4 small cuts—see the photos). Refrigerate the pies for 5 minutes.
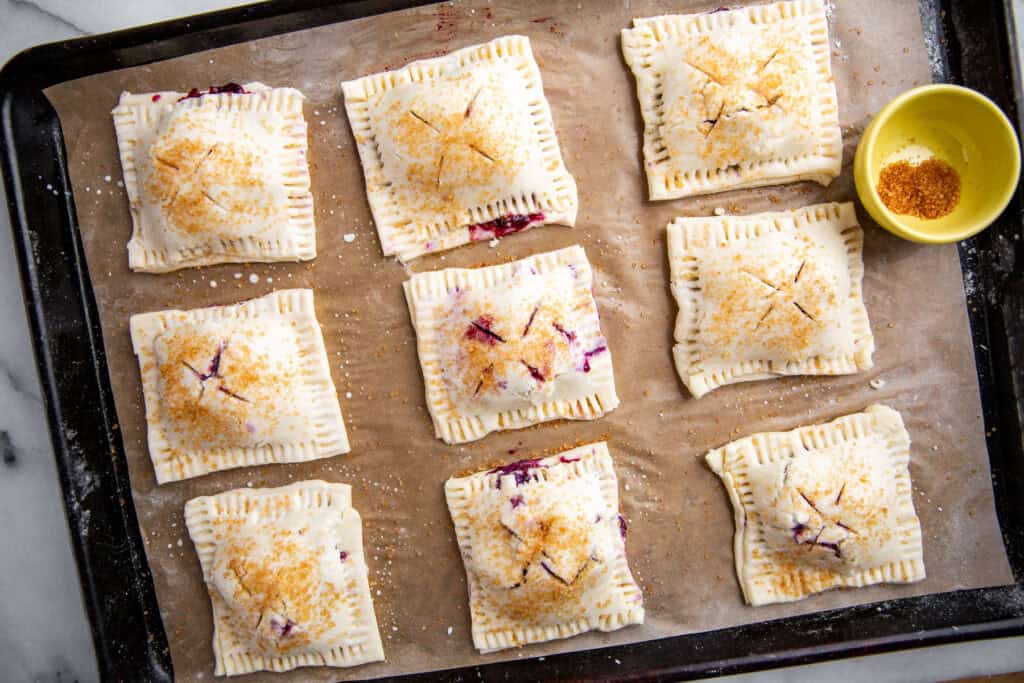
Using a pastry brush, brush the top of each hand pie lightly with milk, then sprinkle with the turbinado sugar. If there’s any flour on the parchment paper, brush it off. Bake the hand pies until golden brown, about 18-20 minutes. Transfer the pan to a cooling rack and let them cool for at least 15-20 minutes before serving. Serve warm or at room temperature.

Recipe Tips
- The blueberry filling will be quite thick (and a little gloppy), but don’t worry—this will make it easy to eat the pies by hand (it will taste delicious).
- I use Odense almond paste (you’ll need about a third of the log). The amount of almond paste you add to each pie is going to be up to you. I recommend cutting the slices into ⅛-inch slices, but if you really love almond flavor, then you can do slightly thicker slices.
- For a nut-free version (or if you don’t like almonds), simply omit the almond paste.
- The temperature of the dough is really important for this recipe. If it’s too cold, it will crack when rolling or assembling the pies. If it’s too warm it will be sticky and hard to work with. Don’t be afraid to pop the sheet pan in the fridge often if your kitchen is warm!
- Rolling the dough on parchment paper prevents sticking and streamlines the recipe (no need to transfer the dough). I love these pre-cut parchment sheets, which lie flat. You’ll need 2 baking sheets and 2 pieces of parchment paper for this recipe.
- You can use the dough scraps to make another rustic little hand pie, or you can roll it out and cut it into cookies—sprinkle the tops with cinnamon and sugar and bake until golden.
- You can switch out the blueberries and use strawberries, blackberries, raspberries, or a mix of berries. Follow the same ingredient amounts and instructions for the filling.
- These pies are delicious on their own or served with a scoop of vanilla ice cream.
Storage Tips
These mini blueberry hand pies are best the day they’re baked when the crust is at its crispiest, but they can be stored at room temperature, lightly covered, for up to 1 day.
You can also freeze them in an airtight container or freezer bag for up to 2 months! To preserve freshness, wrap each cooled hand pie in plastic wrap, then place it into your freezer container.
Recipe FAQs
This really comes down to preference. These pies are great at room temperature, served warm, or chilled. Try it each way and see what you like best (there are 9 to experiment with!).
Very simply, it refers to the fact that they are small enough to fit into your hand. Hand pies originated in Britain (called a pasty) and were a traditional pastry filled with savory meats and veggies. They’ve evolved into sweet treats, but can be enjoyed either way! The best part is that they’re already made into individual portions so you don’t have to worry about slicing and serving.
More Summer Dessert Recipes
- Grilled Peaches with Honey & Cardamom Whipped Cream
- Easy Blueberry Yogurt Cake
- Super Fudgy Zucchini Brownies
- Homemade Strawberry Shortcake
- The Best Gluten-Free Strawberry Crisp
Stay Connected
I'd love to answer any of your questions and see what you're cooking!! Don't forget to give this recipe a star rating and leave a comment below. Follow along on Instagram, Facebook, YouTube & Pinterest, and be sure to tag @fromscratchfast so that I can share your creations!
Get the Recipe
Easy Homemade Blueberry Hand Pies Recipe
Ingredients
Pie dough
- 1 batch Gluten Free Pie Dough or 2 disks of any pie dough
Blueberry Filling
- 1 pint (2 cups) blueberries
- 3 tablespoons (42g) organic cane sugar (or regular granulated sugar)
- 2 tablespoons (15g) cornstarch
- ½ teaspoon cinnamon
- ¼ teaspoon ground cardamom
- ⅛ teaspoon fine sea salt
- 1 tablespoon fresh lemon juice
- 1 tablespoon water
Assembly
- 2-3 ounces almond paste or marzipan such as Odense brand—you’ll need about a third of a log, cut into 9 thin rounds (see the Tips)
- 1 tablespoon milk or cream
- 1 tablespoon turbinado or demerara sugar
Instructions
Make and chill the pie dough
- Make the pie dough (recipe link above), forming the dough into 2 rough squares or rectangles instead of disks (this will make it easier to roll out the dough later, but don’t worry if you already have disks). Chill the dough as directed for at least 30 minutes. Do Ahead: The dough can be refrigerated for up to 2 days or frozen for up to 3 months.
Make the blueberry filling
- In a small saucepan, toss together the blueberries, sugar, cornstarch, cinnamon, cardamom and salt. Drizzle in the lemon juice and water, and stir until the cornstarch is dissolved. Place the pan over medium-high heat and cook until the liquid at the bottom and starts to bubble. Continue cooking, stirring often with a rubber spatula, until the mixture is quite thick, 3-5 minutes longer (it will be gloppy, but that’s okay). Transfer the filling to a bowl and let cool. Do Ahead: The blueberry filling can be transferred to an airtight container and refrigerated for up 2 days before using.
Assemble the pies and bake
- Preheat the oven to 425˚F (220˚C).
- If the pie dough has been refrigerated overnight, let it sit at room temperature until pliable (this could take up to 30 minutes, depending on the temperature of your kitchen). Roll out one of the pieces of dough on a lightly floured piece of parchment paper into a 10- to 11-inch square. Using a straight edge (such as a ruler) and a pizza cutter, trim the edges so that they’re straight (save the scraps!). Cut the dough into 9 even squares (I just wing it, but you could measure the squares if precision is your jam).
- Slide the parchment (with the dough squares) onto a baking sheet and refrigerate. Repeat with the next piece of dough.
- Remove the first baking sheet from the fridge—you’ll be baking the pies right on this baking sheet. Place a piece of almond paste in the center of each square of dough. Scoop a scant tablespoon of the blueberry filling over the almond paste—you will have leftover filling (you can use the leftover filling to make a rustic little crostata with the dough scraps, or you can stir in into yogurt or ice cream).
- Remove the second baking sheet from the fridge, and top each pie with a square of dough. Press along the edges of the dough with a floured fork to seal (if your pan is small and this is cumbersome, move the pies to a work surface with a spatula to seal). If the dough tears or cracks, just patch it back together the best you can. At this point you might be thinking, “these look like hell,” as some of the filling will poke through and the dough won’t be perfect—it’s okay! The pies look quite lovely when baked, even if they look bedraggled before going into the oven. Remember, it’s all about embracing the process (and that pie is supposed to be fun).
- Cut a small vent into the top of each pie (I usually do 4 small cuts—see the photos). Refrigerate the pies for 5 minutes.
- Brush the tops of the hand pies lightly with milk, then sprinkle with the turbinado sugar. If there’s any flour on the parchment paper, brush it off. Bake the hand pies until golden brown, about 18-20 minutes. Transfer the pan to a cooling rack and let them cool for at least 15-20 minutes before serving. Serve warm or at room temperature.
Notes
Recipe Tips
- The blueberry filling will be quite thick (and a little gloppy), but don’t worry—this will make it easy to eat the pies by hand (it will taste delicious).
- I use Odense almond paste (you’ll need about a third of the log). The amount of almond paste you add to each pie is going to be up to you. I recommend cutting the slices into ⅛-inch slices, but if you really love almond flavor, then you can do slightly thicker slices.
- For a nut-free version (or if you don’t like almonds), simply omit the almond paste.
- The temperature of the dough is really important for this recipe. If it’s too cold, it will crack when rolling or assembling the pies. If it’s too warm it will be sticky and hard to work with. Don’t be afraid to pop the sheet pan in the fridge often if your kitchen is warm!
- Rolling the dough on parchment paper prevents sticking and streamlines the recipe (no need to transfer the dough). I love these pre-cut parchment sheets, which lie flat. You’ll need 2 baking sheets and 2 pieces of parchment paper for this recipe.
- You can use the dough scraps to make another rustic little hand pie, or you can roll it out and cut it into cookies—sprinkle the tops with cinnamon and sugar and bake until golden.
- You can switch out the blueberries and use strawberries, blackberries, raspberries, or a mix of berries. Follow the same ingredient amounts and instructions for the filling.
- These pies are delicious on their own or served with a scoop of vanilla ice cream.





Leave a Comment