The BEST Instant Pot Pinto Beans (and How to Serve Them!)
Warning: once you start making these Instant Pot pinto beans, you might never go back to canned. I must admit that for years I convinced myself that making beans from scratch was a waste of time. Why go to the trouble when you can open a can in seconds? Well let me tell you, these pinto beans have a flavor and texture that's miles away from canned. Plus, they take only minutes to prepare. These beans turned Ella from a staunch bean hater into a bean lover. And people, THAT'S A MIRACLE! [Don't miss the VIDEO below!]
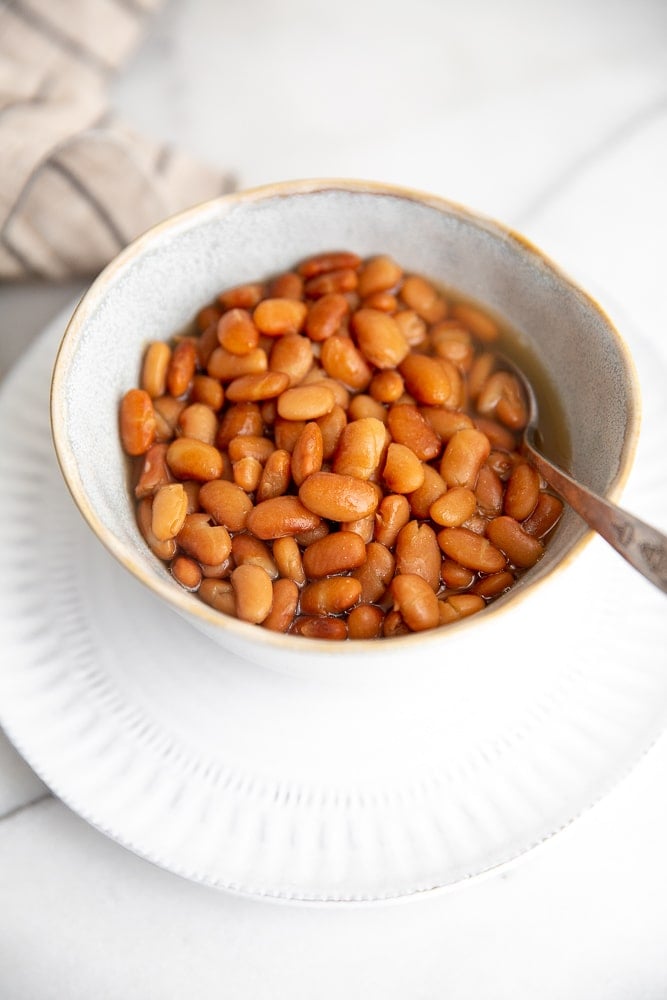
Healthy pinto beans recipe
I now make a batch of beans every week or two, and I always have beans in the freezer as well. Not only are they incredibly delicious (you'll find out why in a sec), but more and more research points to the incredible health benefits of beans. In fact, beans are a cornerstone of every "blue zone" diet (blue zones are the areas on the planet where people live the longest). In blue zones, people apparently eat four times more beans than Americans. They're high in soluble fiber and protein, and let's not forget that making beans from scratch is a HUGE cost saver.
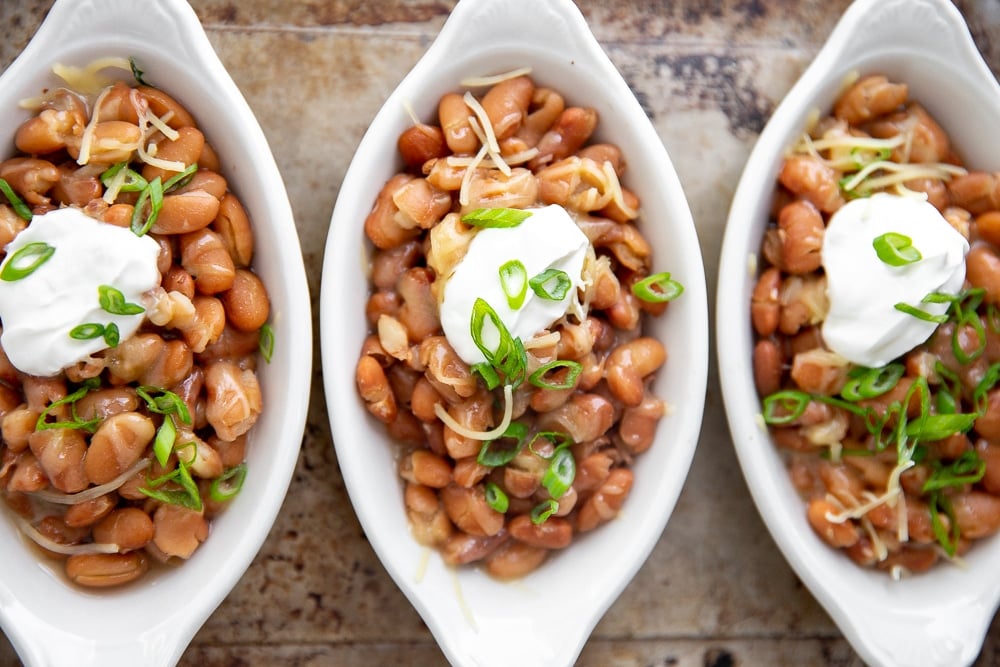
Ultimate Instant Pot pinto beans
But aside from all the monetary and health benefits, these beans just taste really, really good. A few easy aromatics give these Instant Pot pinto beans loads of flavor, including:
- garlic & shallot: a whole head of garlic and a whole shallot impart an incredible flavor
- bay leaf: a bay leaf gives the beans a subtle herby depth
- bacon: BACON! This is optional, but two strips of bacon infuse the beans with a rich, smoky flavor (the bacon is removed at the end)
Vegan pinto beans
You can easily make vegan pinto beans by simply omitting the bacon (the beans are still delicious)! If you'd like, you can add a 3-5-inch strip of kombu to the pot. Kombu is an edible kelp (seaweed) that helps soften beans as they cook. It also contains enzymes that help with the digestibility of beans. Remove the kombu once the beans are cooked.
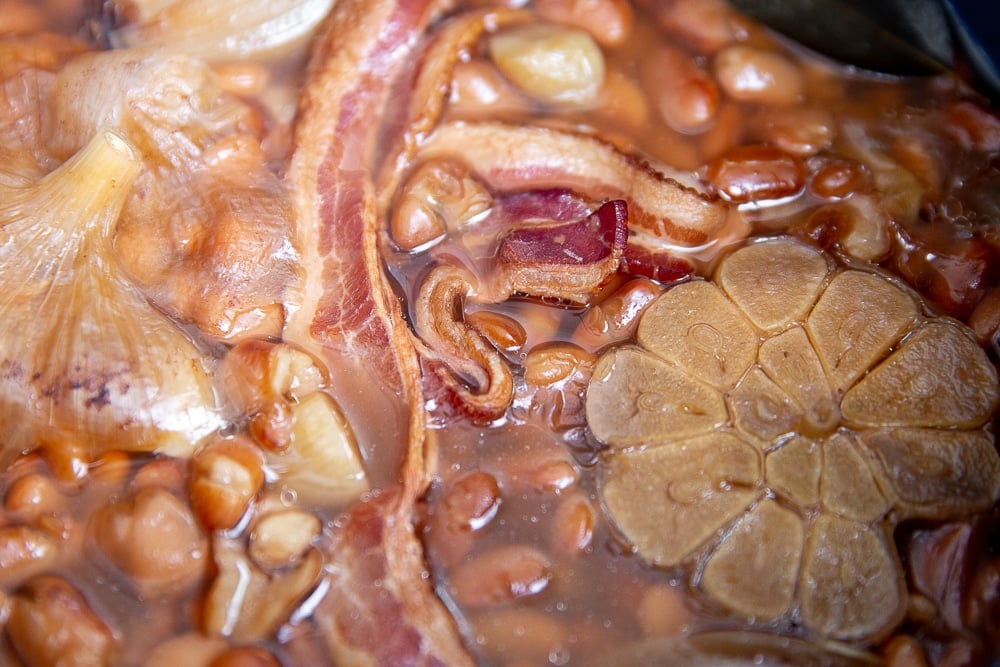
No soak Instant Pot pinto beans
Best of all, these beans are a cinch to make. You don't even need to soak them ahead of time! The un-soaked beans go right into the Instant Pot with the aromatics and just water (although you have the option of soaking them to cut back on the cooking time).
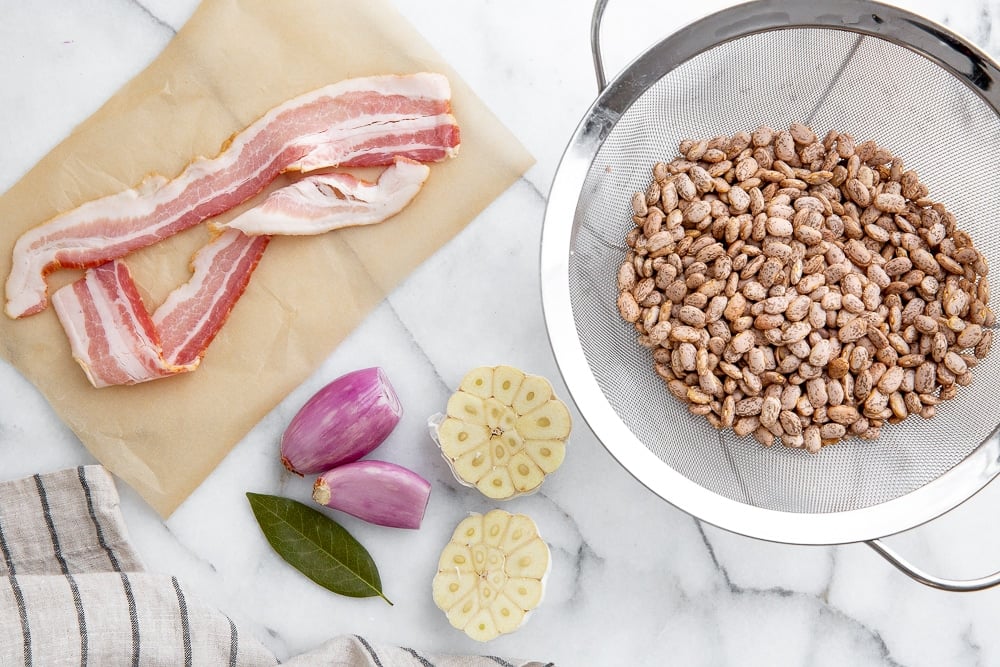
How do you make beans in the Instant Pot?
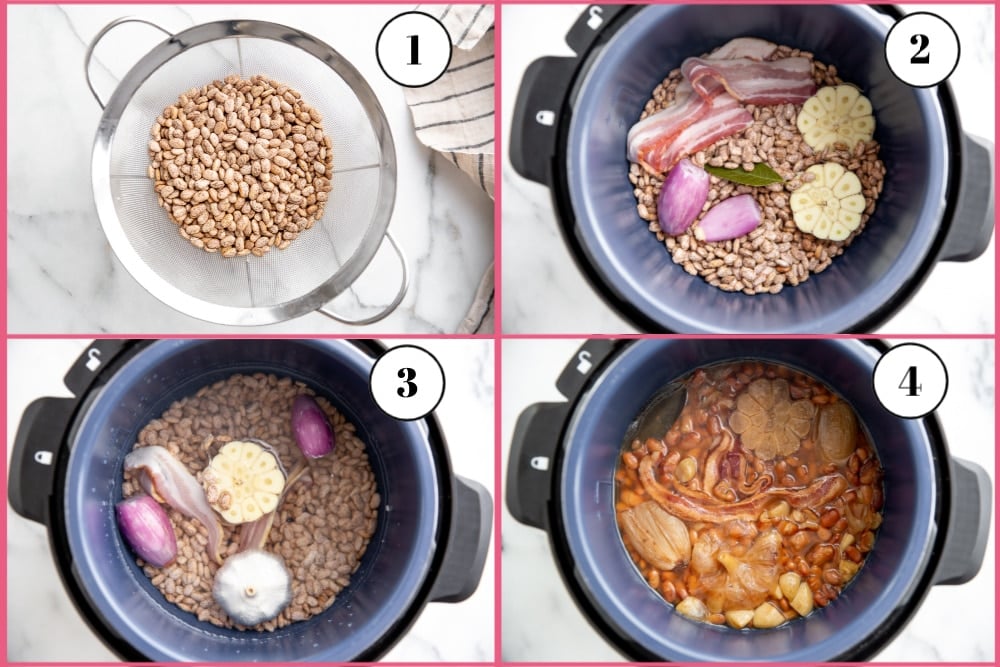
- Rinse and drain the beans. You have the option of soaking the beans overnight, which will cut the cooking time in half (the instructions are in the recipe).
- Put the beans in your multi-cooker with the garlic, shallot, bay leaf and bacon (if using).
- Pour in 6 cups of water, and season the beans with a teaspoon of fine sea salt (don't worry, the salt won't make the beans tough-that's an old wives tale).
- Cook on high pressure until the beans are tender, then add a splash of apple cider vinegar, which will brighten up the flavors. Season with more salt to taste.
What is an Instant Pot?
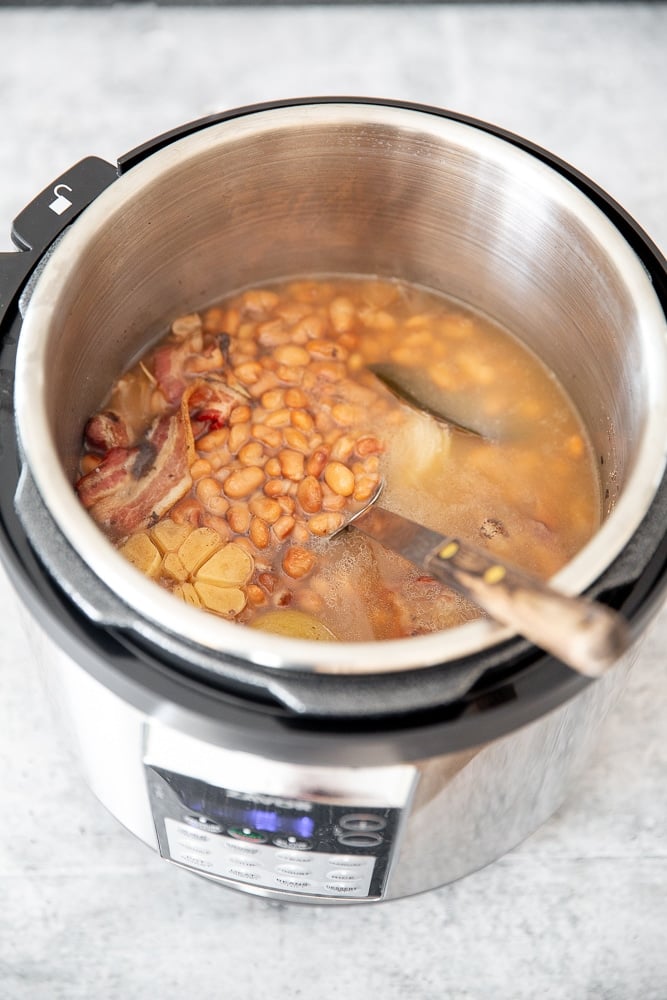
Like Kleenex, Instant Pot is actually a brand name that's become synonymous with multi-cookers in general (I actually own a Zavor LUX Edge Multi-Cooker, which I love ?). Multi-cookers are electric pressure cookers that work by building steam and pressure inside the pot, which raises the boiling point of water, therefore cooking hardy foods (such as dried beans, whole grains and tough cuts of meat) quickly. The beauty of using the multi-cooker instead of the stovetop for things like beans is that not only do they cook faster, but once you get them going, you can leave them alone to do their thing. No fussing with temperatures or monitoring of the stovetop required!
How is a multi-cooker different than a slow cooker?
Multi-cookers also have several other functions (besides pressure cooking), including a slow cooker function. However, as I discuss in my book, Fresh Flavors for the Slow Cooker, the slow cooking function on the multi-cooker is designed differently than a traditional slow cooker and can be a bit trickier to manage (delicate foods can cook a lot faster while tougher foods can take longer on the slow cooker mode). I use my multi-cooker almost exclusively for pressure cooking, although you can absolutely use the slow cooker function for many of the slow cooker recipes in my book (or for this chili or this soup!).
How do you serve Instant Pot pinto beans?
I could eat these beans in a bowl all on their own (and I do!), but they're a healthy and delicious foundation to countless different dishes. Here are some suggestions:
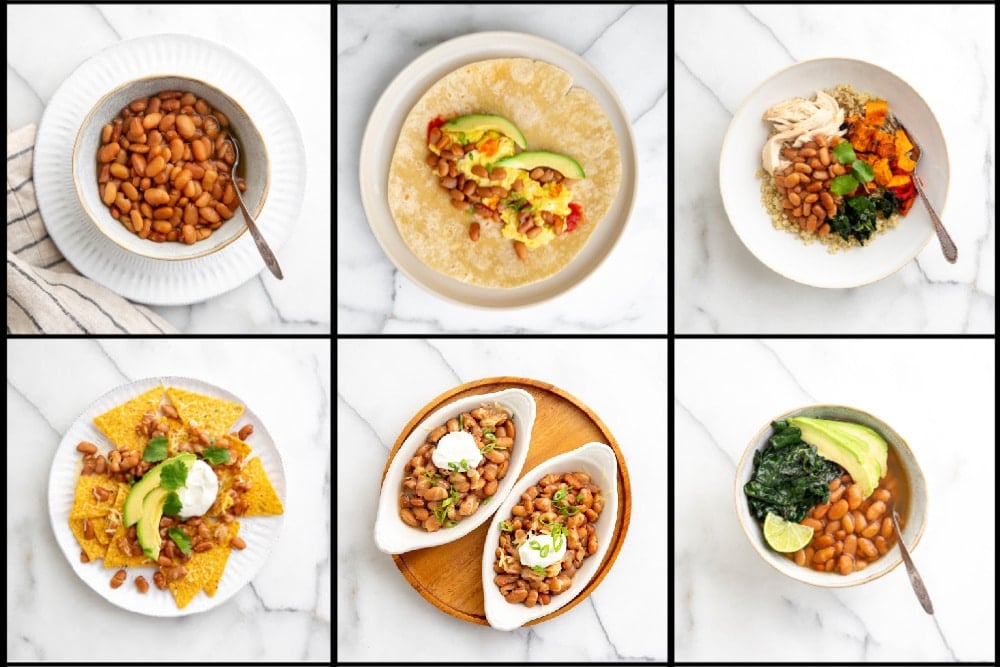
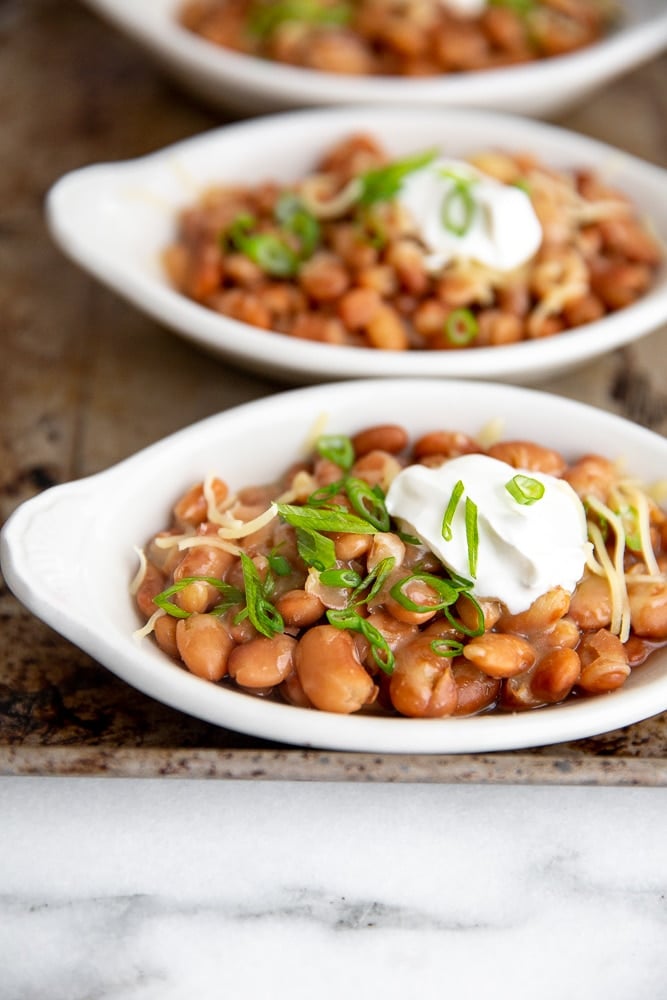
- Bean bowls: Serve the brothy beans in bowls and garnish with toppings of your choice, such as cheddar cheese, sour cream and scallions
- Tacos & burritos: Layer the beans over tortillas with your favorite fixings (add scrambled eggs for a breakfast version!)
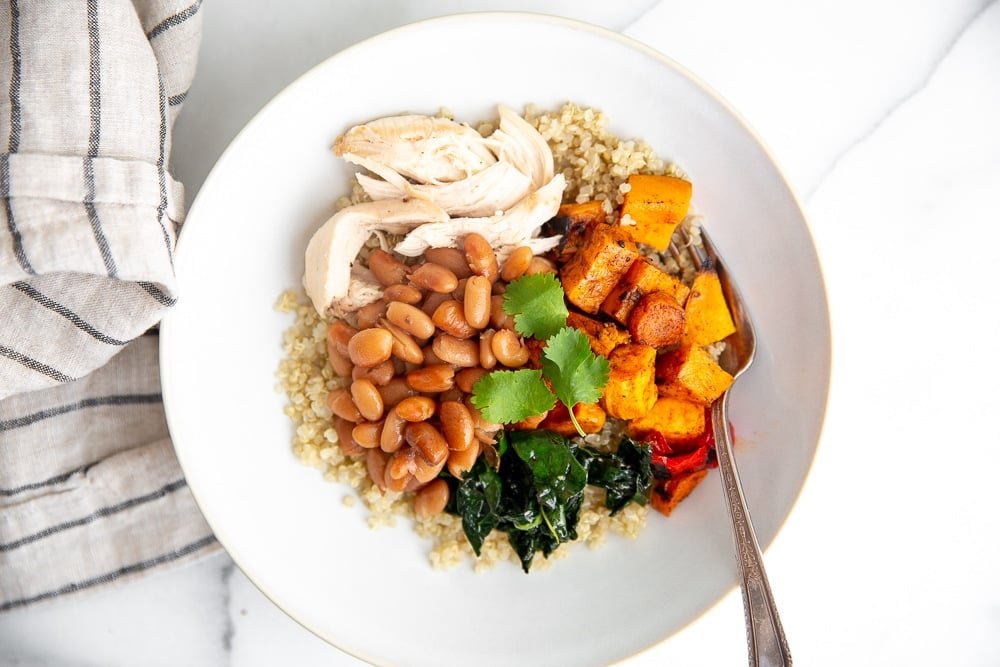
- Grain bowls: Serve the beans in grain bowls with vegetables and/or meats (check out my book Build-a-Bowl for a ton of ideas!)
- Nachos: Do I even have to say anything else?!
- Refried Beans: Cook the beans in a slick of oil (or bacon fat!) and mash slightly for refried beans
- Soups: Add the beans to your favorite soups, or make a simple soup of beans, broth, garlicky sautéed kale, avocado and fresh lime juice
You can also wrap the beans in enchiladas or quesadillas, or use them in this slow cooker beef chili or this vegetable and quinoa chili.
How long will the beans keep in the refrigerator?
The pinto beans can be refrigerated for up to 1 week.
Can you freeze pinto beans?
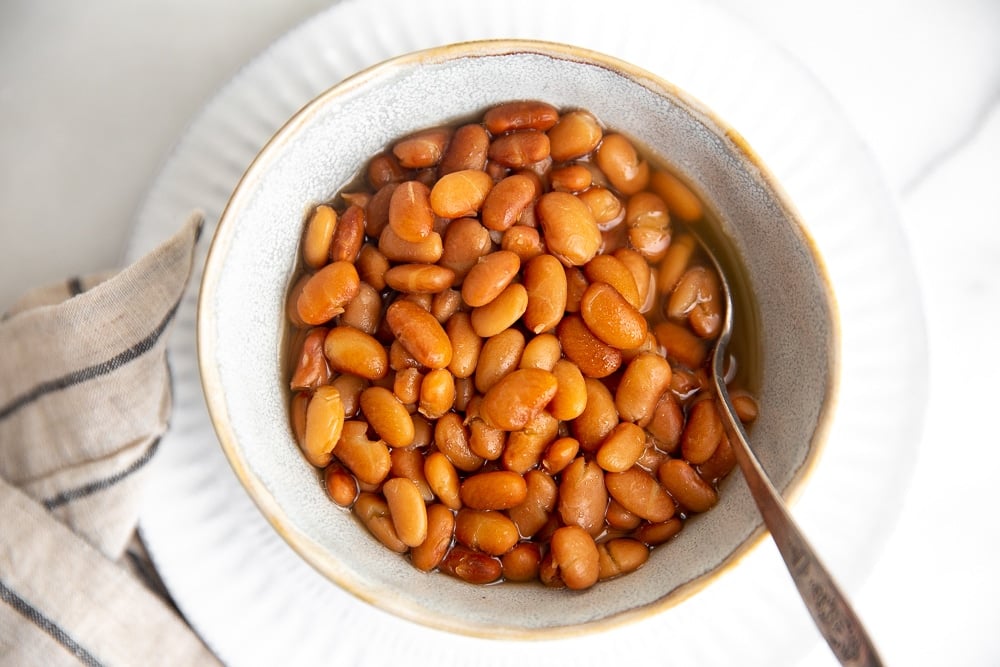
Yes!! Once cooled, you can transfer the Instant Pot pinto beans (in their broth) to an airtight container and freeze them for up to 3 months.
Ingredient swaps for this recipe:
- You can swap out the pinto beans for dried black beans.
- Instead of using a shallot, use ½ small (or ¼ large) onion.
- Use red or white wine vinegar in place of the apple cider vinegar.
Tips for making multi-cooker pinto beans:
- Different multi-cooker models cook at different rates, so you might need to modify the cooking times accordingly. I use the Zavor LUX Edge Multi-Cooker, which takes 35 minutes (which is longer than the "bean" setting, btw), but other multi-cookers can take up to 50 minutes. Give the beans a taste after cooking - if they're still crunchy, re-cover the pot and cook on high pressure for 10 minutes longer. If they're just a bit chalky (not silky on the inside), cover and cook on high pressure for 3-5 minutes longer.
- The freshness of the dried beans also can affect the cooking time. Buy your beans at a store with a high turnover or buy them online-I use these organic pinto beans.
- To make vegan pinto beans, simply omit the bacon!
- If you'd like, you can add a 3-5-inch strip of kombu to the pot (whether you're using bacon or not). Kombu is an edible kelp (seaweed) that helps soften beans as they cook. It also contains enzymes that help with the digestibility of beans. Remove the kombu once the beans are cooked.
Try the pinto beans in these recipes:
Serve the pinto beans with these main courses:
- Smoked Baby Back Ribs
- Easy Chipotle Chicken Tacos
- Slow Cooker Carnitas
- Easy Salsa Verde Green Chicken Enchiladas
- Steak Burrito Bowls
- Healthy Shrimp Tacos
Watch the video!
Get the recipe!
The BEST Instant Pot Pinto Beans (Soaked or Unsoaked!)
Ingredients
- 1 pound pinto beans, picked over, rinsed and drained
- 6 cups water
- 1 head garlic, halved crosswise (unpeeled)
- 1 large shallot, halved lengthwise and peeled
- 1 bay leaf
- 1 teaspoon fine sea salt, plus more to taste
- 2 strips bacon (optional)
- 1 teaspoon apple cider vinegar
Instructions
- If you're soaking the beans (this is optional), place them in a large bowl and cover them with 3-4 inches of cool water. Let sit overnight. Drain and rinse before cooking. Reduce the water to 5 cups.
- Place the drained beans in the instant pot and add the water (*if you soaked the beans, reduce the water to 5 cups), garlic, shallot, bay leaf, salt and bacon (if using). Lock on the lid and cook on high pressure ("pressure cook mode") for 35 minutes for un-soaked beans, and 15 minutes for soaked beans. Release the pressure valve and let the steam release. Unlock and carefully remove the lid. Taste a bean-if it's still slightly chalky re-lock the lid and cook on high pressure for 5-10 minutes longer (see the notes below).
- Discard the shallot and bay leaf. You can leave the bacon in the pot or remove it as well (same for the garlic-I usually leave it in the beans because it's so damn delicious). Add the vinegar, and season with additional salt to taste. Let the beans cool in their liquid. Eat the beans just as they are, or check out my serving suggestions above!
Notes
- Different multi-cooker models cook at different rates so you might need to modify the cooking times accordingly. I use the Zavor LUX Edge Multi-Cooker, which takes 35 minutes (which is longer than the "bean" setting, btw), but other multi-cookers can take up to 50 minutes. Give the beans a taste after cooking - if they're still a bit crunchy, re-cover the pot and cook on high pressure for 10 more minutes. If they're just a bit chalky (not silky on the inside), cover and cook on high pressure for 5 more minutes.
- The freshness of the dried beans also can affect the cooking time. Buy your beans at a store with a high turnover or buy them online-I use these organic pinto beans.
- You can use dried black beans in place of the pinto beans in this recipe.
- If you don't have a shallot you can use ½ small onion (or ¼ large onion). Also, you can swap out the apple cider vinegar for red or white wine vinegar.
- For vegan pinto beans, simply omit the bacon!
- If you'd like, you can add a 3-5-inch strip of kombu to the pot (whether you're using bacon or not). Kombu is an edible kelp (seaweed) that helps soften beans as they cook. It also contains enzymes that help with the digestibility of beans. Remove the kombu once the beans are cooked.

Subscribe
Get exclusive new weekly recipes (all gluten-free, but you'd never know it), along with tips for finding more intention, ease, and joy in the kitchen in my Mind, Body, Spirit, FOOD newsletter!
*This post contains Amazon and other affiliate links to products I use and love (from which I earn income, at no cost to you). Thank you for supporting From Scratch Fast!



Hello! I'm making these right now, first time in cooking beans without soaking. I've had awful issues with beans in the past and usually have to be very careful unless i want to spend days in pain (i don't tolerate ogliosaccharides well AT ALL). Since i learned about Kombu I've been soaking the beans with Kombu overnight, rinsing well, and then cooking the beans with it. I'm very excited and hope it goes well but if all else fails I've got Beano!!!
Also, instead of using the sea salt I've used Cherry wood smoked salt- can't wait, it smells amazing...
I hope you enjoy, and that wood smoked salt sounds amazing!
Am just trying this in my Instant Pot as we speak. I didn't have shallot, so used an onion instead. I'm curious why you would remove the peeled shallot and discard it. And then there's the unpeeled garlic. I did peel the garlic because I wasn't sure what the unpeeled garlic would be like. What's your reason for not peeling the garlic?
Great question! Since I use an entire head of garlic, I don't peel it, as that would require quite a bit of time and effort. Instead, after the beans are cooked, you can either squeeze the cloves into the beans or remove the garlic head for a milder flavor (both are delicious). I peel the shallot because the cooked shallot is delicious (and it's easy to peel). I hope this clarifies!
These beans are so delicious! I live at 7500 ft altitude, so I ended up cooking them a little longer. No trouble with toughness because of cooking with salt. Thanks for sharing this recipe!
I'm so glad you enjoyed, and great tip for high altitude cooking!
This is the first thing I've cooked in my first instant pot (not counting frozen chicken stew, that I defrosted and heated -- mind blowing in itself). I have been soaking and cooking pinto beans for many moons. I am 68, born in El Paso, TX, grew up there and love Tex/Mex. I tried your recipe because it is more along the line of the things I would flavor with. I used some minced garlic from a jar in my frig, pieces of salt pork from the freezer, and ground some sea salt (didn't measure). Added 5 cups of water and the rinsed, soaked pound of pinto. I set the time for 15 minutes and waited. It's a new process for me, so I waited and kept close. I learned things like it's not going to be 15 minutes later (or was it?). I didn't watch that closely. Peeps popped by and I got sidetracked. So, maybe @ I-1/2 later I check the beans. They looked a little dry on top, but mixed up nicely. I was pleased with the taste and consistency. Next time I'll try to get to them earlier for a better check.
Hi there! I love that you're experimenting with your Instant Pot (it takes a bit of getting used to!) and that you made the recipe your own. So glad you enjoyed!
For me adding salt making them tough isn't an old wives tale, for me it doubles or triples the cooking time if salt is added every time. I simply do everything else and add the salt at the end, works everytime. Love the other ingredients.
Hi Brenda, thank you for your comment! Does adding salt still double the cooking time for you if you use an Instant Pot? I find that the timing in the Instant Pot is really consistent (although it does depend on how fresh the beans are). Let me know!
Does the kombu affect the taste? Just curious!
I am using your recipe today…can’t wait to see how the beans taste!
Sue Ann
Hi Sue Ann! The kombu lends a slight salinity and umami flavor to the beans (it also aids with digestion!). I hope you enjoy!
Thanks - this is a great base recipe! I made some changes based on what I had on hand and in my garden...added fresh sage and rosemary to the liquid and it is savory and herby! I would have added bacon - but sadly, I didn't have any and was too lazy to go get some! Thanks for the recipe!
Hi Janis, I'm so happy you liked the recipe, and I love that you added herbs from your garden!
5